Creating your own store/listing items
How to Mint your own NFT/Store
This guide will show you step by step how a store or NFT can be created on the following platforms:
- Mintable
- Rarible
- Pixura
- Opensea
OpenSea
There are three essentials you’ll need in place to open your own store and get started buying or selling NFT’s on OpenSea, let’s get started.
1. Digital Currency (ETH):
You can get ETH, the digital currency that fuels transactions on the Ethereum blockchain, from a digital currency exchange like Coinbase. You will need ETH to “mint” an NFT, purchase an NFT, and for gas fees to complete transactions. Now that you have ETH, let’s get a wallet.
2. Crypto Wallet: A crypto wallet, such as Metamask, stores your ETH and processes transactions on the blockchain. A unique wallet address will be generated and you will use this address to complete transactions.
All transactions connected to your wallet address can be found on etherscan.io and it’s a good idea to check after completing each transaction. Now that you have a wallet installed, you can connect your wallet address to OpenSea.
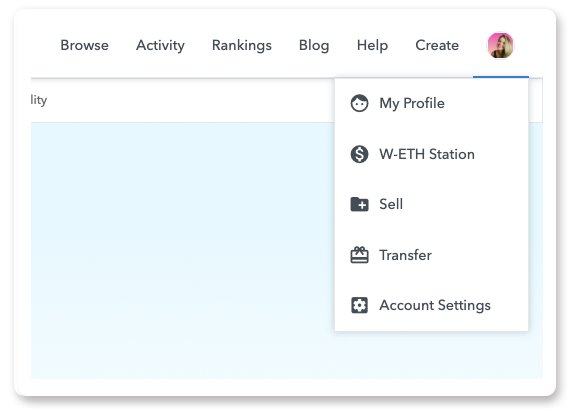
3. OpenSea: Let’s connect your wallet to OpenSea, edit your profile, and begin interacting in the space. When you arrive at opensea.io , head to the top right profile icon, select “My Profile”.
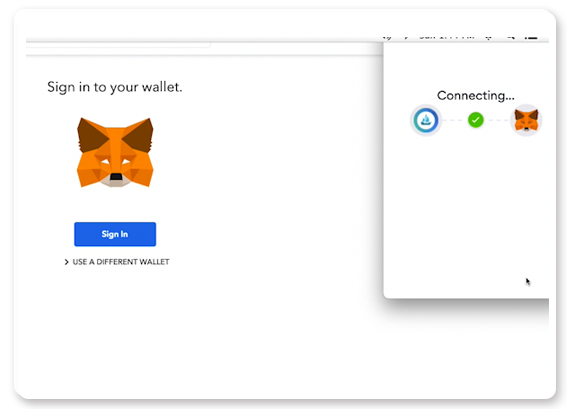
You will then be prompted to connect your wallet. You will continue through multiple prompts, finishing with the connection screen below. When you see “Connecting…” OpenSea to your wallet, you’re almost done.
Your account will default to “Unnamed”, showing only your wallet address below. To personalize your account, select the gear icon on the right side of the screen. You will receive an extra security prompt, select “Sign” and you can begin updating your profile. Now you can customize your profile, including: username, bio, and email address. Your profile photo and cover banner can be customized on your account as well.
Now you’re all set! If you ever have trouble viewing your items, make sure your wallet is connected correctly. OpenSea is a window into your wallet address, showing all the NFTs inside.
OpenSea doesn’t store your digital assets, it’s only a place to buy, sell, create, and trade NFTs.
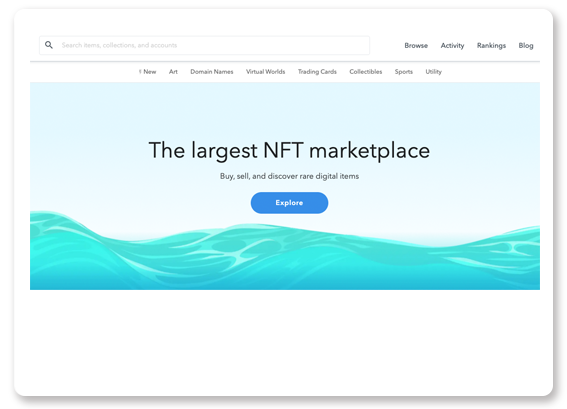
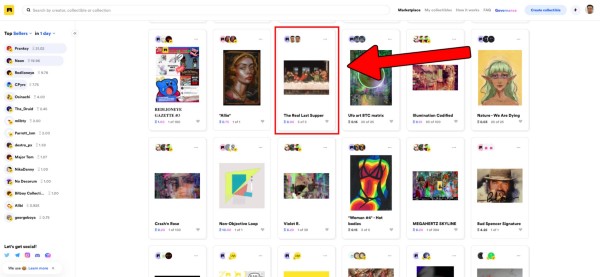
The heart of OpenSea is the Browse page and search features. Enjoy buying, trading, creating, and selling NFTs on OpenSea!
Once you’re finished, click “create” at the bottom and sign another message in your wallet to confirm the creation of the NFT. The artwork should then appear in your collection. While it costs nothing to make NFTs on OpenSea, some platforms charge a fee. With Ethereum-based platforms, this fee is known as “gas.” Ethereum gas is simply an amount of ether required to perform a certain function on the blockchain – in this instance, it would be adding a new NFT to the marketplace.
Mintable
Creating a store is the first step to selling your items, your store is actually a smart contract on the blockchain which will as well store your NFTs. When you create your store you are deploying a smart contract onto the blockchain where it will live forever. It will also have its own, unique address that only your store will have. (this is how you can prove that your items are actually authentic and from you).
To create a store click on “create a store” in the top right of the page.

Category:This is the category of items you are selling. It’s how buyers will be able to filter through stores for things they want. If you are selling art – it would be artwork. If music – it would be media files.
Title:This is the title of your store. This title is the name of your smart contract and will be displayed everywhere. Make sure its description catches people’s eyes!
Subtitle:This is the subtitle of your store. You can add more information here about your store. This will be the symbol of your smart contract (but it doesn’t need to be a symbol).
Tags: These tell users what your store is about. Tags are used for searching for items and stores. Add up to 8 tags.
Cover Image:This is what is displayed as the image for your store. A good cover image is the key to having people look at your store.
Description:Tell the world about your store and what’s inside. Be descriptive and catch the buyer’s eye.
Finally, submit your transaction: After you are finished confirming all your information is correct – you will submit your transaction which creates your smart contract on the blockchain. After your transaction is finished – you will be ready to create new items in your store.
Rarible
NFT art marketplaces such as Rarible have boomed on Ethereum, in part as a direct result of the amount of value being generated through activity on DeFi dapps.
Here’s how to create your own NFT on Rarible:
1.Go to Rarible.com and connect your wallet (i.e. Metamask)
2.Click the blue CREATE button at the top of the page
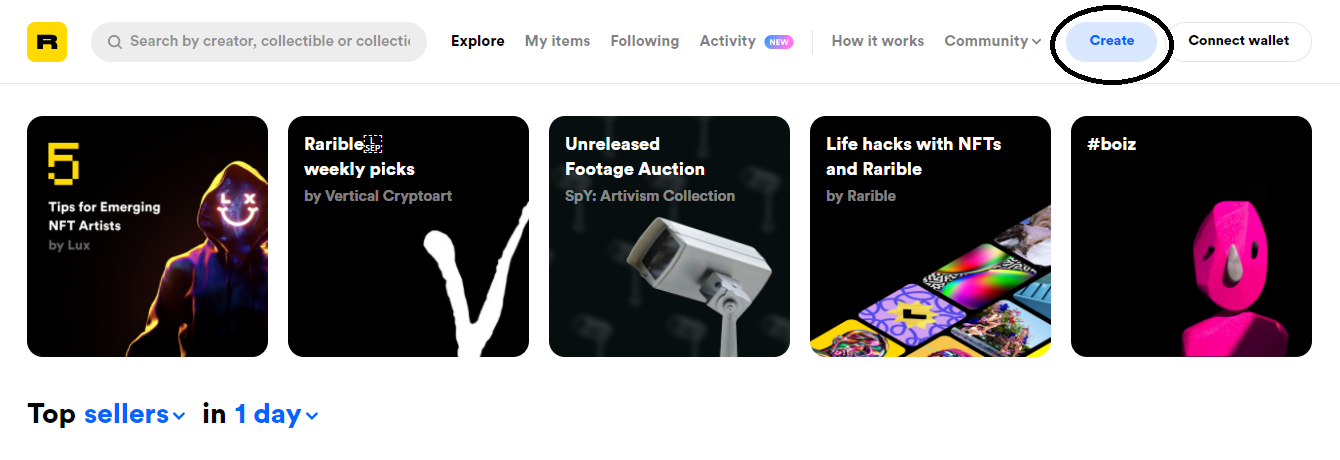
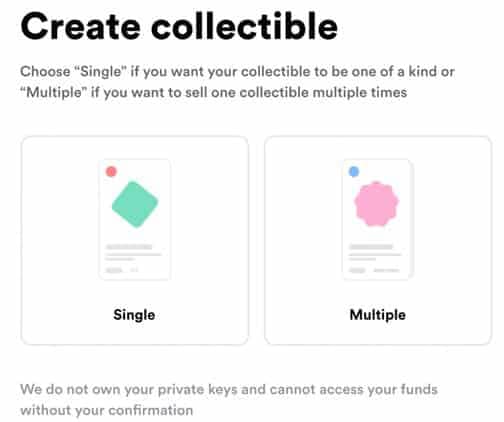
3.Select whether you want to mint a Single NFT or an NFT with multiple editions
4.Upload your image, video, or music file
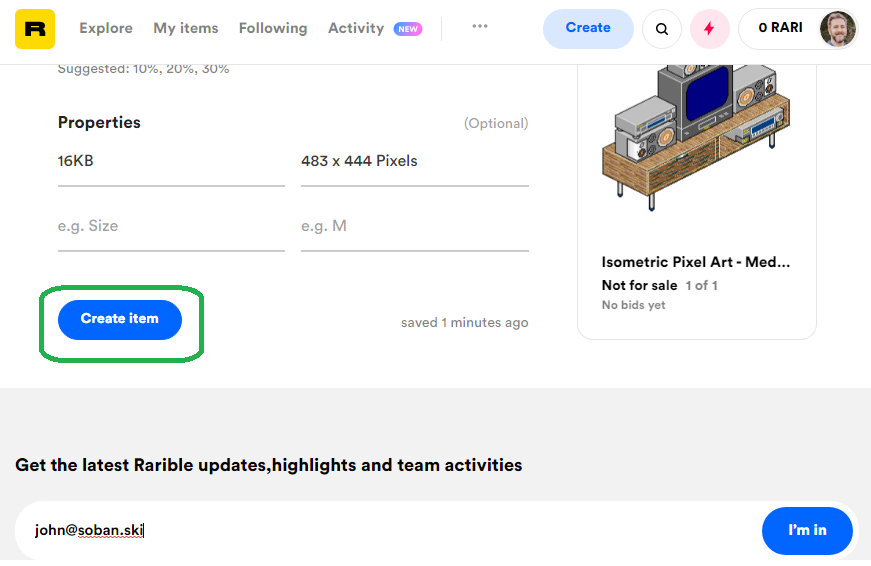
5.Specify a price, name, description, royalties, and other info
6.Click create item
7.Your wallet will ask you to sign and pay for gas fees. Gas fees can be high, and it’s worth it to pick the right moment to mint an NFT.
Pixura
Pixura is built on Ethereum, so you’ll need to install the MetaMask browser extension, which is both a cryptocurrency wallet, and a web3 interface for creating your collectible assets on Pixura.
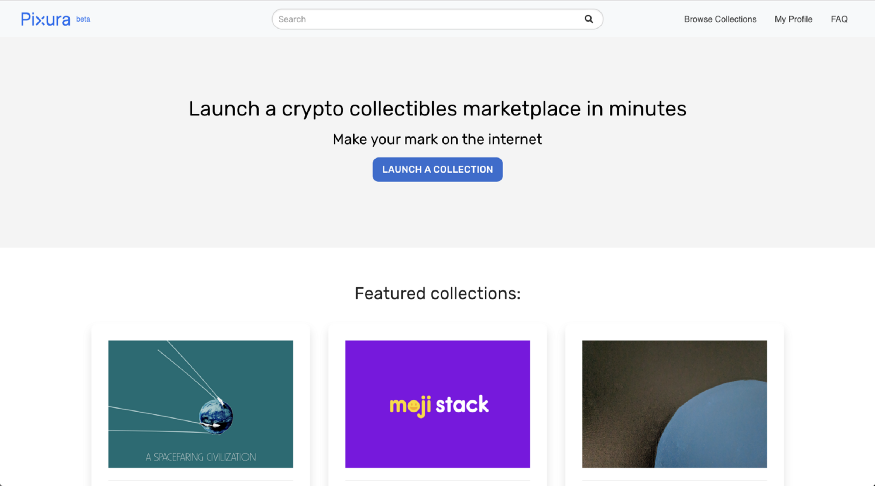
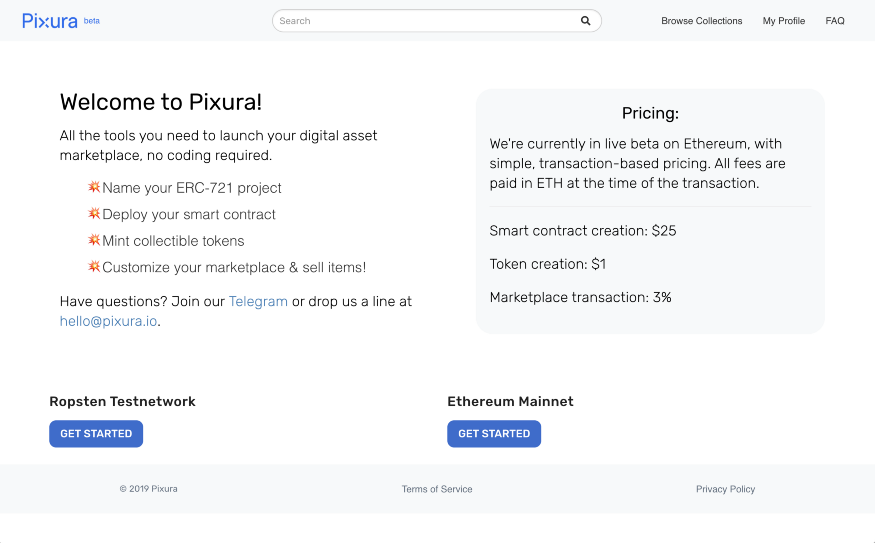
Once you click “Launch a Collection”, you’ll be taken to this screen, where you can choose to get started on the Ropsten testnet or the Ethereum mainnet.
Once you click “Launch a Collection”, you’ll be taken to this screen, where you can choose to get started on the Ropsten testnet or the Ethereum mainnet.
Next, create an account by signing in either with Google or an email address:
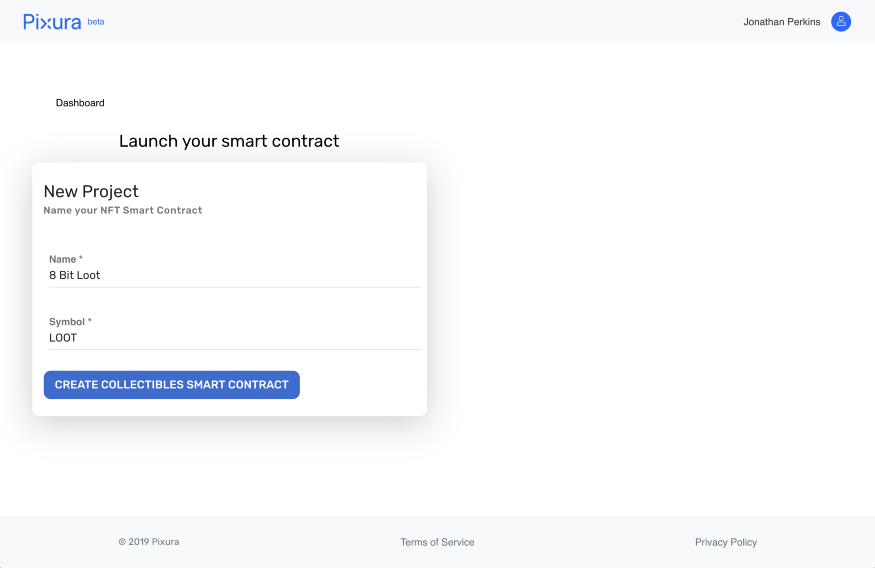
Once you’ve created an account and have MetaMask set to the appropriate network (Ropsten or mainnet), you’ll see the dashboard page, where you can launch your first collection.
Each collection is a smart contract, which will be deployed to the blockchain.To proceed, enter your collection name and a token ticker symbol and click the button:
How to Upload an NFT
OpenSea
OpenSea has a “create” button in the top right corner.Here’s how the process works on OpenSea, currently the largest Ethereum-based NFT marketplace.
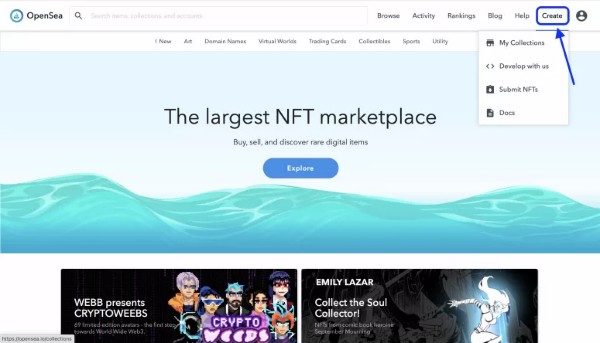
Clicking the “create” button (blue) will take you to a screen that asks you to connect your Ethereum-based wallet. Once you have entered your wallet password when requested it will automatically connect your wallet with the marketplace. You may have to digitally sign a message in your Ethereum wallet to prove you own the wallet address, but it is just a case of clicking through to proceed.
Digitally signing a message does not incur a fee, it’s just to show that you have ownership over the wallet.
The next step on OpenSea is to hover over “create” in the top right corner and select “my collections.” From there, click the blue “create” button as shown below.
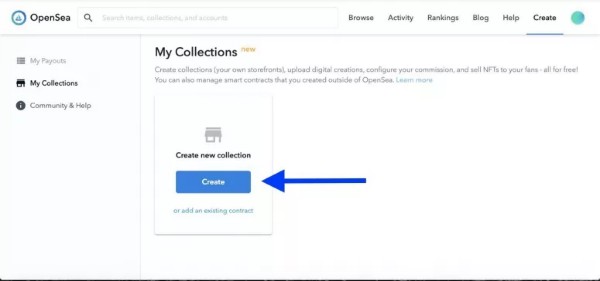
A window will appear that allows you to upload your artwork, add a name and include a description.
This part is essentially just you creating a folder for your newly created NFTs to go in.
Once you’ve assigned an image for your collection, it will appear as shown below (blue). You’ll then need to add a banner image to the page by clicking on the pencil icon in the top right corner. Now, you’re ready to create your first NFT.
You’ll arrive at a new window where you can upload your NFT image, audio, GIF or 3D model.
On OpenSea and many other marketplaces, you also have the option to include special traits and attributes to increase the scarcity and uniqueness of your NFT. Creators even have the opportunity to include unlockable content that can only be viewed by the purchaser. This can be anything from passwords to access certain services to discount codes and contact information.
Rarible
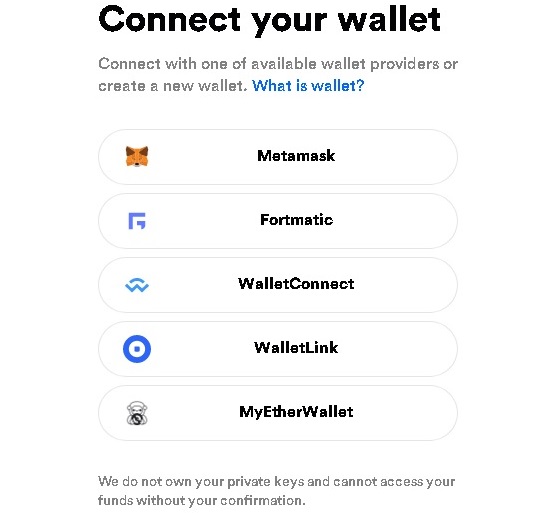
Opening a Rarible account is relatively easy – primarily if you use other dApps such as Decentralized Exchanges (Uniswap, Loopring, etc.). As you would expect, as this is a dApp, to open a rarible account, you simply need to connect your wallet by clicking the highlighted button above.
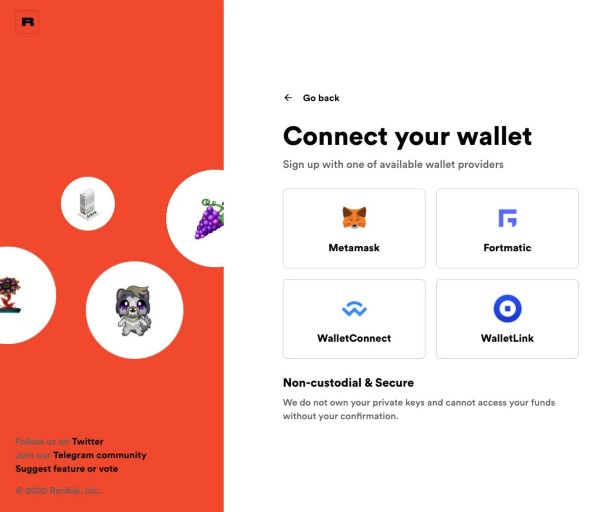
You will then be presented with the four different options to choose from. In this example, we will go with MetaMask.
After clicking MetaMask, you will get the typical “connection request” from MetaMask asking you to confirm the connection. Once your wallet has been connected, you will be asked to confirm the Rarible Terms of Service. You have now successfully created a Rarible account.
Hit “Create Collectible” in the top-right hand side. This will bring up the following screen;
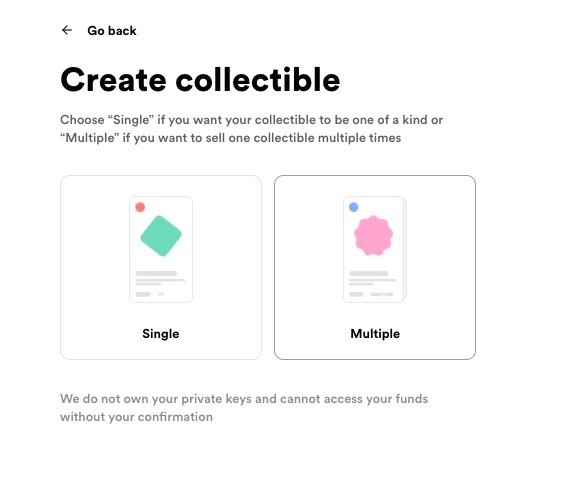
Here, we can create either a single NFT or multiple NFTs of the same kind. If you select Single, you will be creating a unique piece of digital art in which there is only one available.
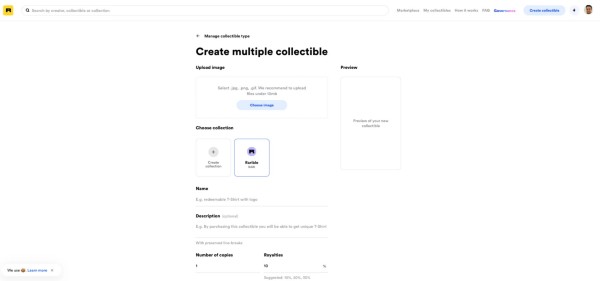
On the other hand, if you choose Multiple, you will have the option to create several copies for this digital art. Each of these will be the same digital art piece, but there will only be a selected number of copies available – still making them unique.
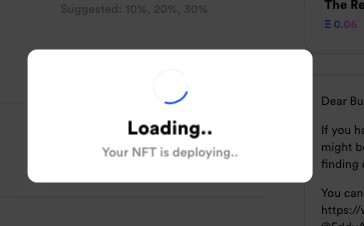
Eventually, the MetaMask window will pop up, asking you to confirm the minting of the token. Set your GAS fee and hit “confirm”.
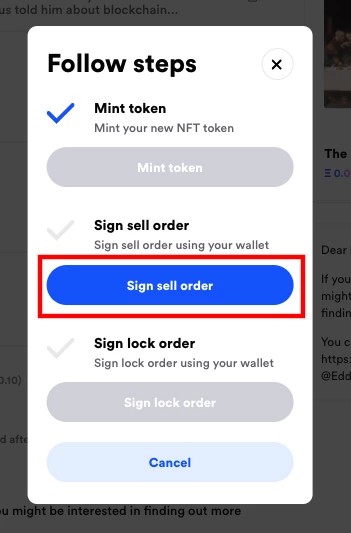
After it has been confirmed, you next need to sign the sell order to allow this NFT to be sold. To do this, simply hit “Sign Sell order”;
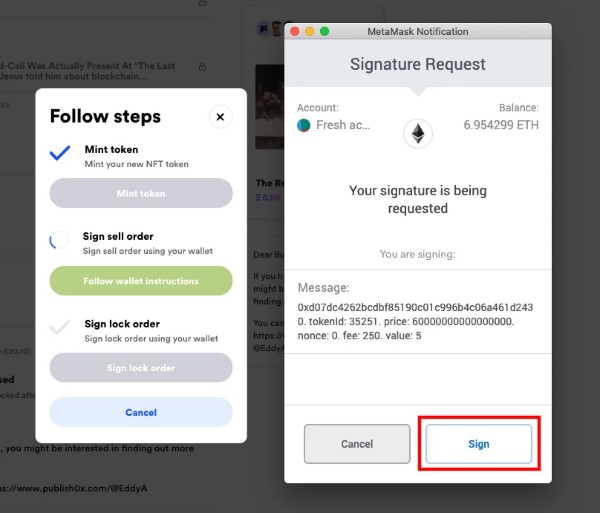
This will bring up another MetaMask window for you to sign;
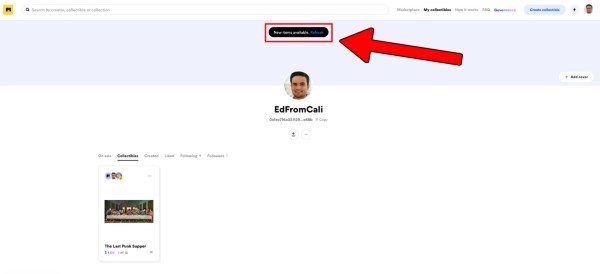
Lastly, you need to sign the lock order – for the unlockable content. Simply hit “Sign Lock Order”.Again, this will bring up another MetaMask window asking you to sign. Once that is done, you will be redirected to your profile page with the following pop-up asking you to refresh.
Hit this button to see your new NFT.It will refresh the page for you and show the new NFT you created;
That’s all there is to it, your NFT is now up for sale. You can double-check this by clicking the “On Sale” tab on your profile. You can even search for your username in the search bar to see your NFT displayed for sale. Eventually, you will also see it in the main marketplace listings.
Mintable
Mintable has an easy-to-use NFT minting feature and provides an online marketplace for creators to sell their newly minted NFTs immediately upon creation. Mintable is a web-based NFT creation and minting app that allows anyone with an Internet connection to create and sell Ethereum-based NFTs without needing to code smart contracts. Minting your own NFT is surprisingly easy when using a make-your-own-NFT platform, like Mintable.
On Mintable, you upload a piece of content, provide a description, choose a price you want to sell it for, and the app issues it in the form of an ERC-721 token on the Ethereum blockchain.
Here is an easy-to-follow step to help you mint your first NFT:
- Click on the “Start Selling” button

At this point, you will be asked whether the item you want to start selling on the Mintable marketplace already exists in your wallet or whether you would like to create a new item.
- Create a Mintable account if you haven’t registered an account already. Once your account is verified (via email confirmation), you can go ahead and create your first NFT.
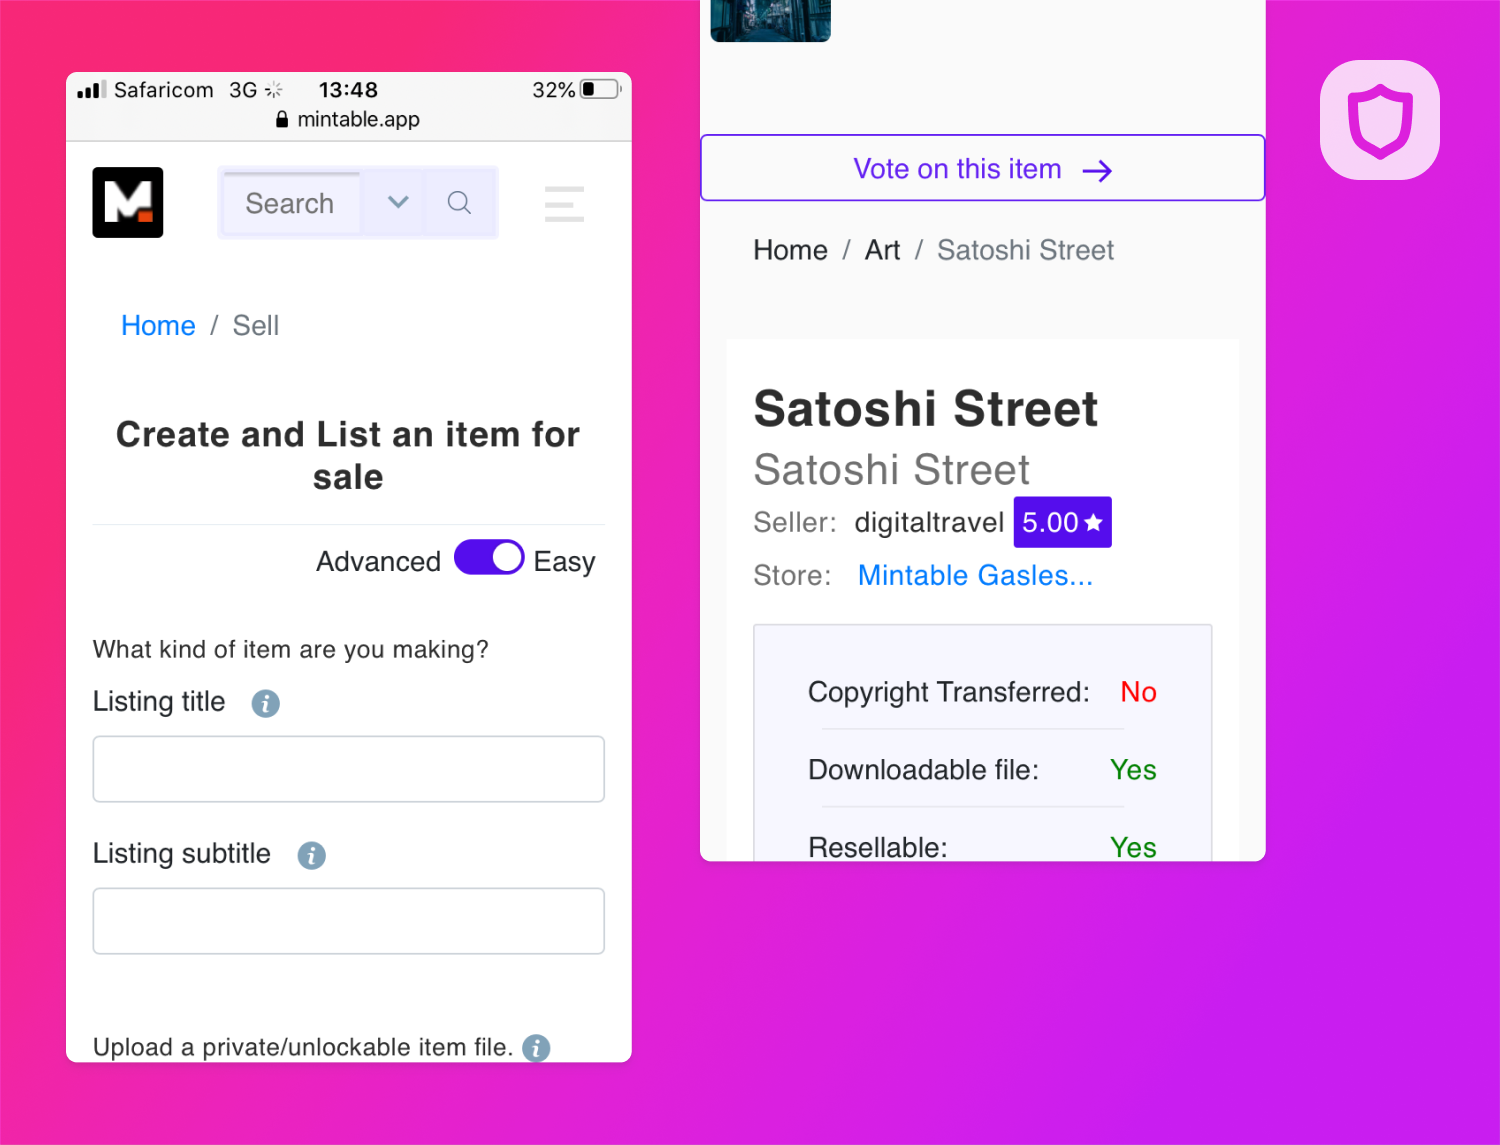
- Once your account is verified (via email confirmation), you can go ahead and create your first NFT. To create and list an NFT on the Mintable marketplace, you need a listing title, a listing subtitle, and a description for the content you want to turn into an NFT.
- Upload the file you want to turn into an NFT and then choose a price and whether you want copyright to the content to be transferable.
Finally, hit the “List This Item” button and sign the transaction using your Ethereum wallet.
That’s it!
How to sell your art
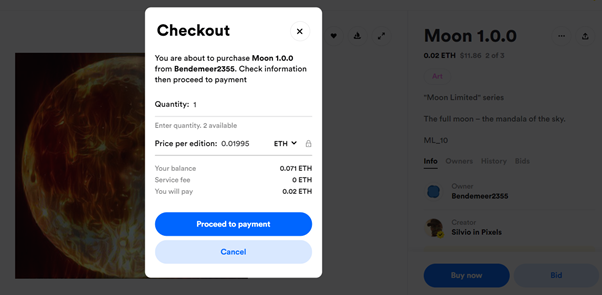
To sell your NFTs on a marketplace, you’ll need to locate them in your collection, click on them and find the “sell” button. Clicking this will take you to a pricing page where you can define the conditions of the sale including whether to run an auction or sell at a fixed price.
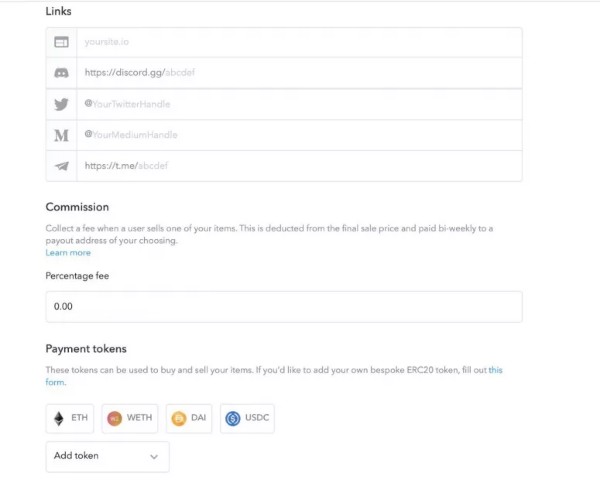
Ether and other ERC-20 tokens are the most common cryptocurrencies you can sell your NFTs for, however, some platforms only support the native token of the blockchain they were built upon. VIV3, for example, is a Flow blockchain marketplace and only accepts FLOW tokens. By clicking on the “edit” button next to the collection image on OpenSea, signing the message using your wallet and scrolling down, you have the option to program in royalties and select which ERC-20 token you’d like to receive for selling the NFT. Royalties allow NFT creators to earn a commission every time the asset is sold to a new person. This has the potential to create lifelong passive income streams for artists and other content creators automatically thanks to smart contracts.
Listing NFTs on a marketplace sometimes requires a fee in order to complete the process. While it’s not the case with every platform, it’s something to be mindful of when creating NFTs.