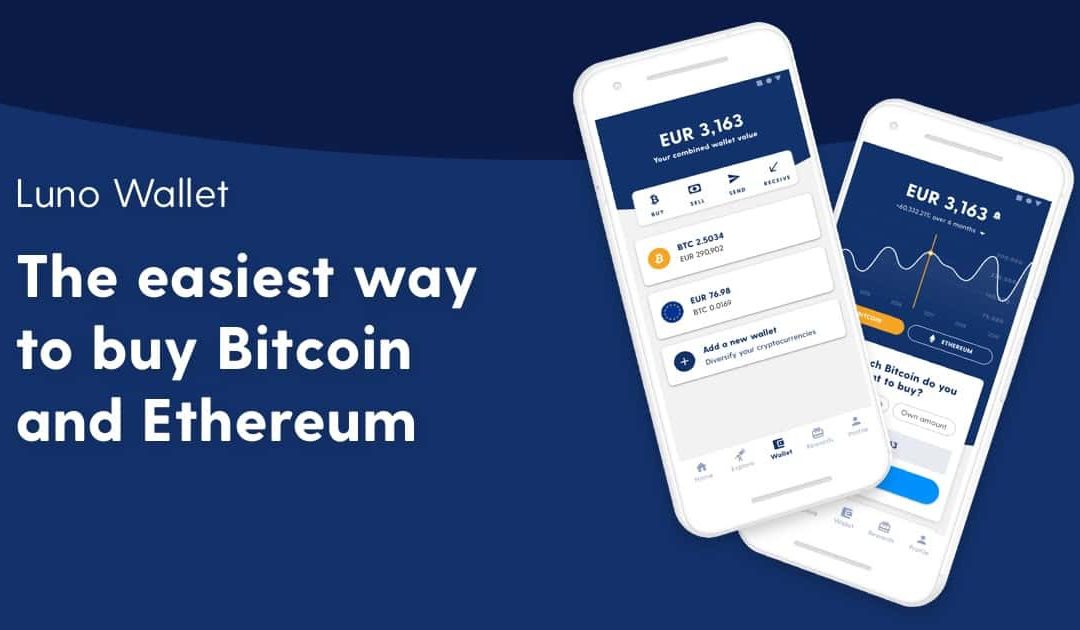
Luno Wallet Tutorial
Contents:
- How To Sign Up for A New Luno Account
- How to Deposit Funds
- Buying Cryptocurrency
- Selling Cryptocurrency
- Sending Cryptocurrency
- Receiving Cryptocurrency
- Exchange
- Security
- Explore
- Reward and referrals
- Price Alerts
- Bitcoin Savings Account
- Creating a USDC Coin Wallet
1. How To Sign Up for A New Luno Account
To create a Luno account successfully, you will need the following:
- Phone number
- Email Address
- Document of identification* (If not a South African citizen)
1.1 Open the Luno website or install the free APP on mobile, iOS or Android:
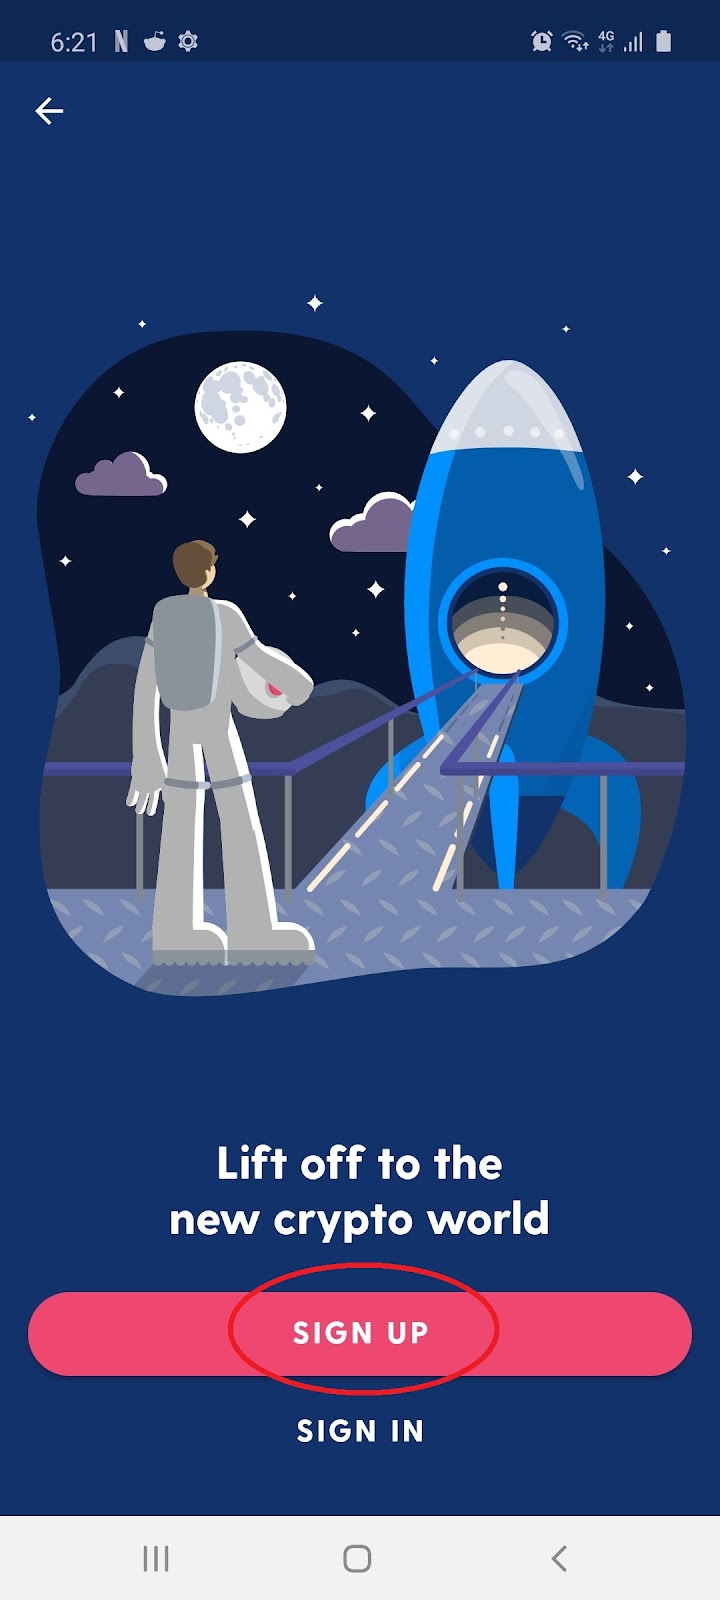
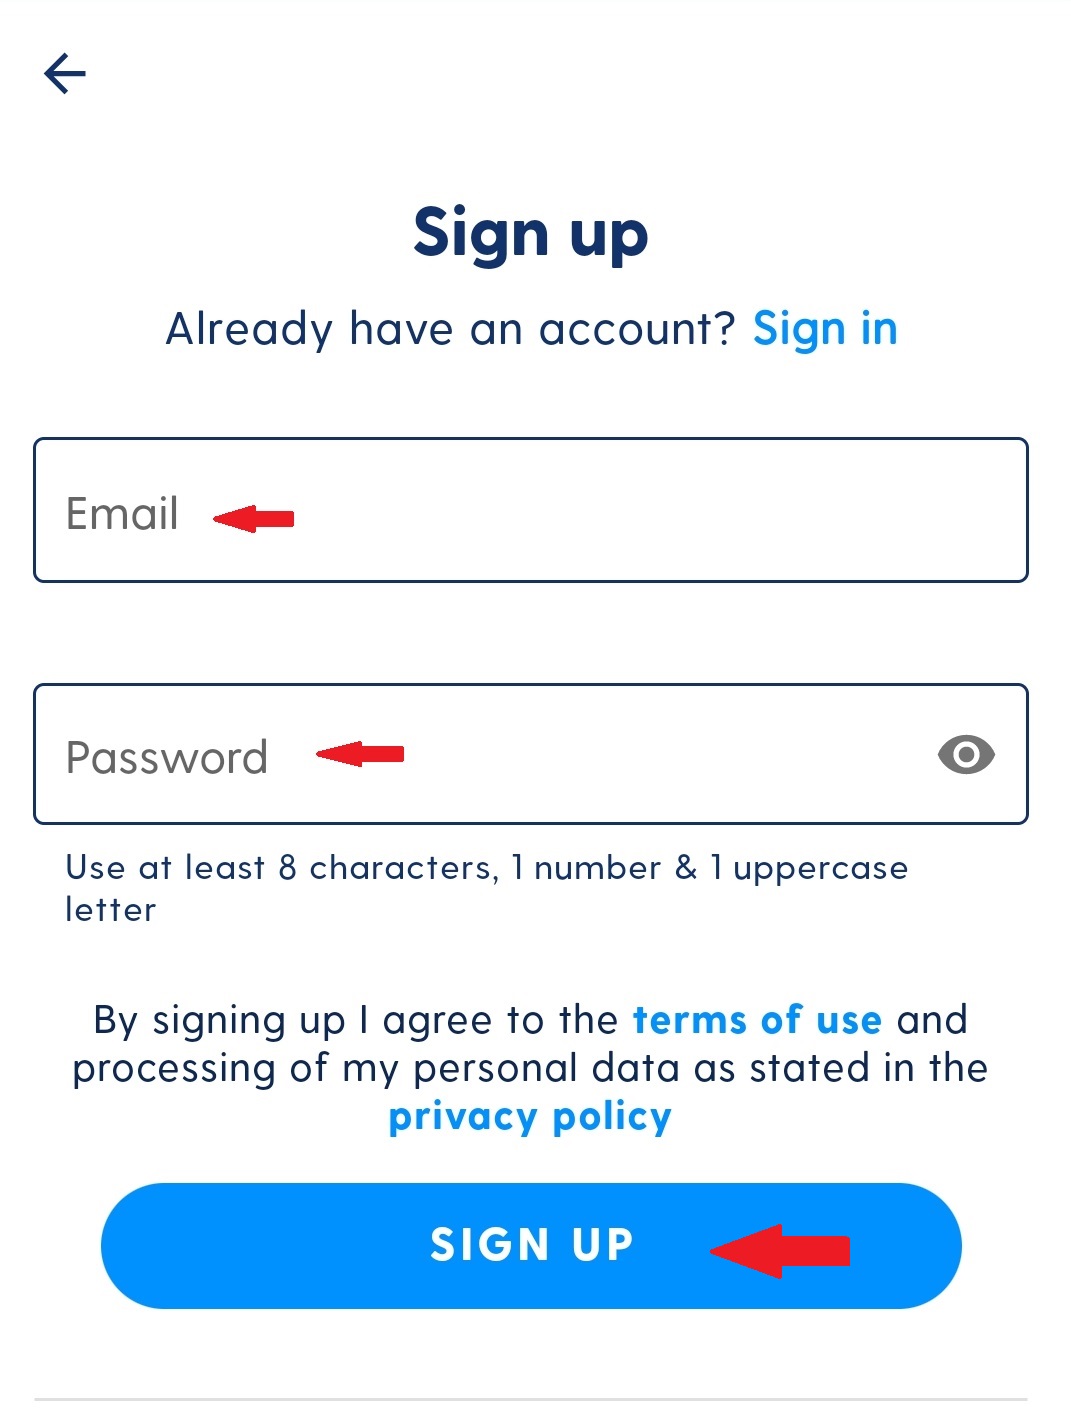
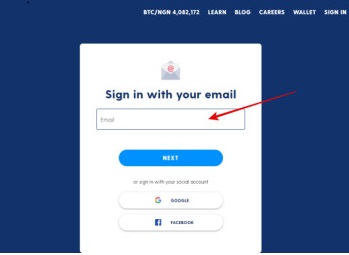
1.2 Once on the landing page, select ‘Sign Up’ and enter email and password:
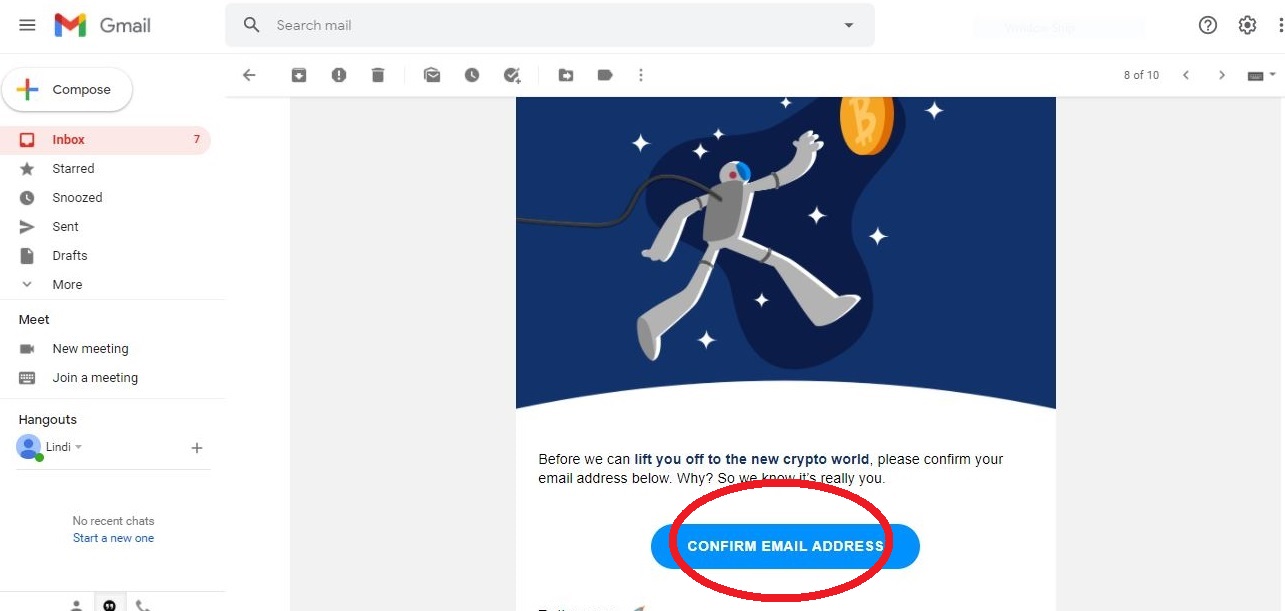
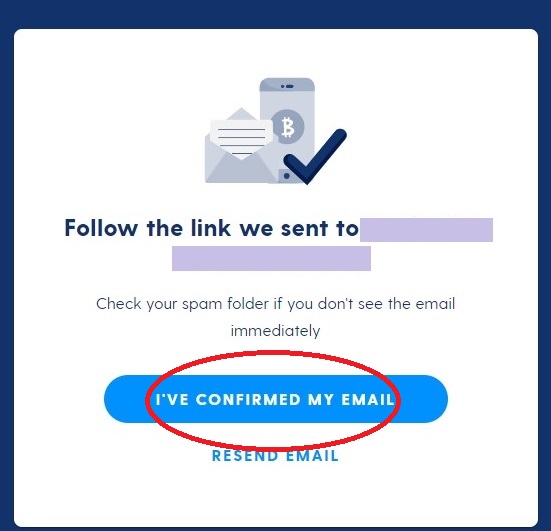
1.3 Log into your email to verify your email, then open Luno platform and confirm:
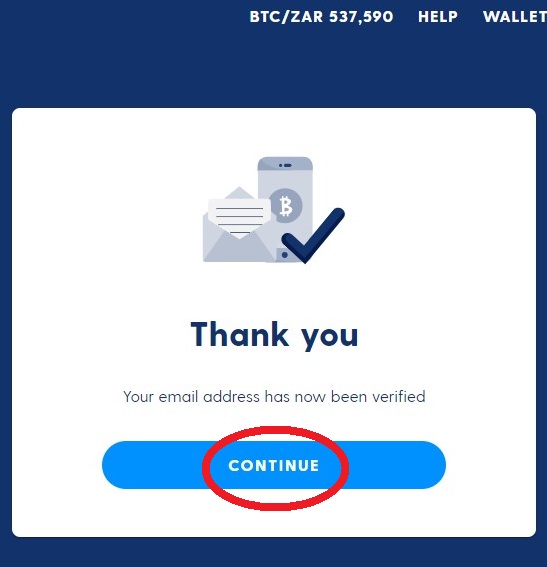
1.4 Select ‘Continue’ and you will be redirected to the Login page:
1.5 On the Login page, fill in your email, password and the 4-digit-code sent to your email:


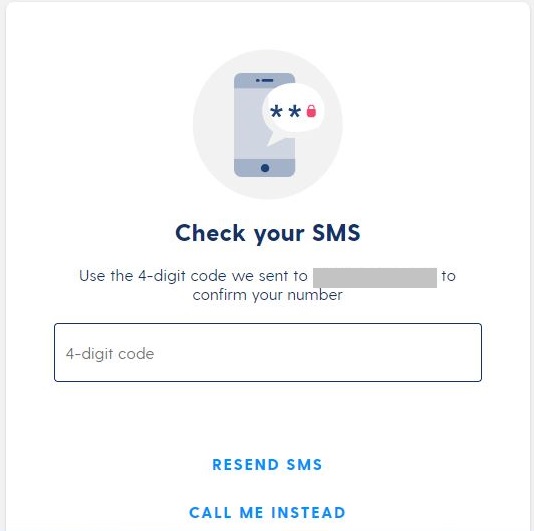
1.6 Fill in your number, the 4-digit-code sent to your SMS and your wallet is done:


1.7 Next, fill in your profile, confirm the information and your Luno profile is complete:


2. How to Deposit Funds
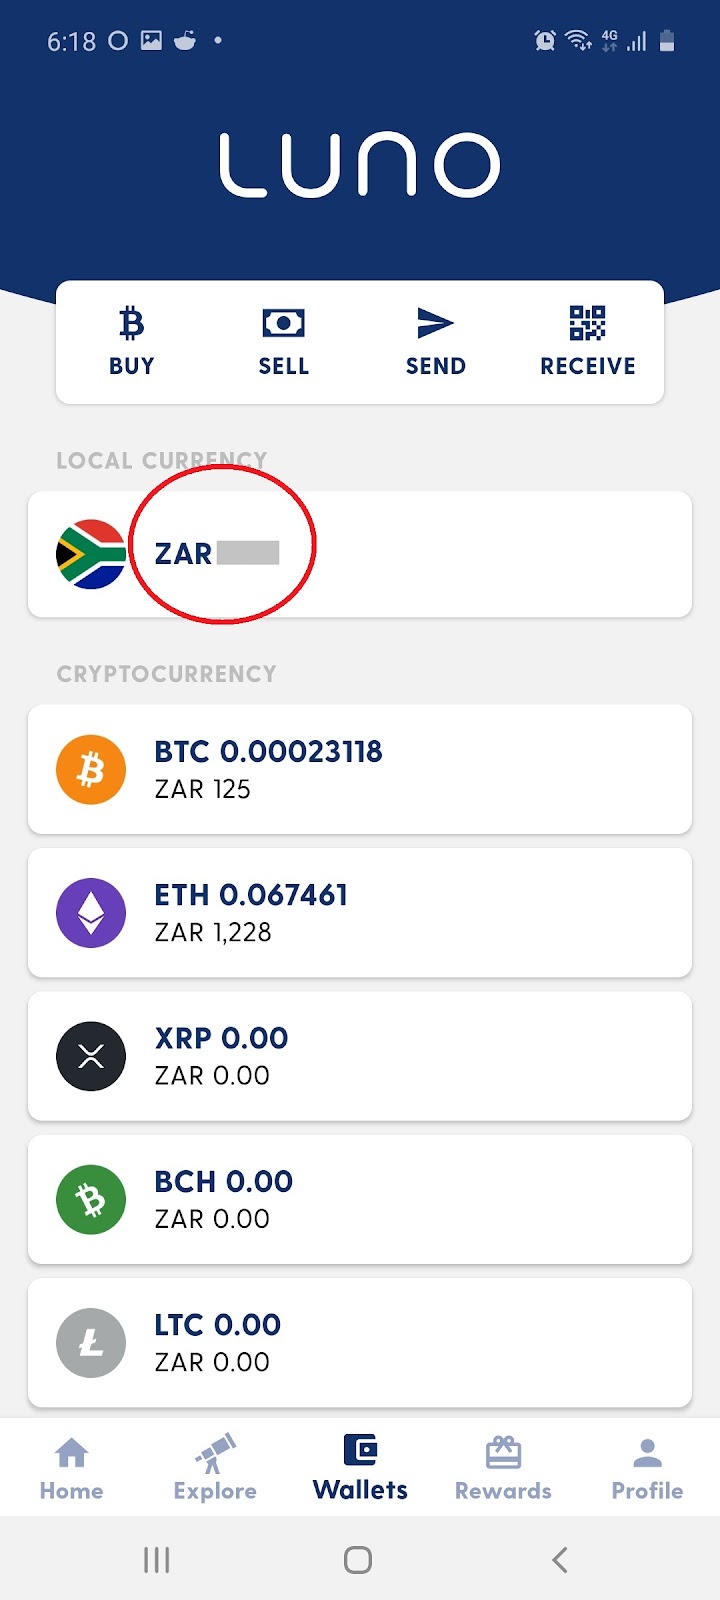
2.1 From the home page select ‘wallets’:


2.2 Select your local currency:
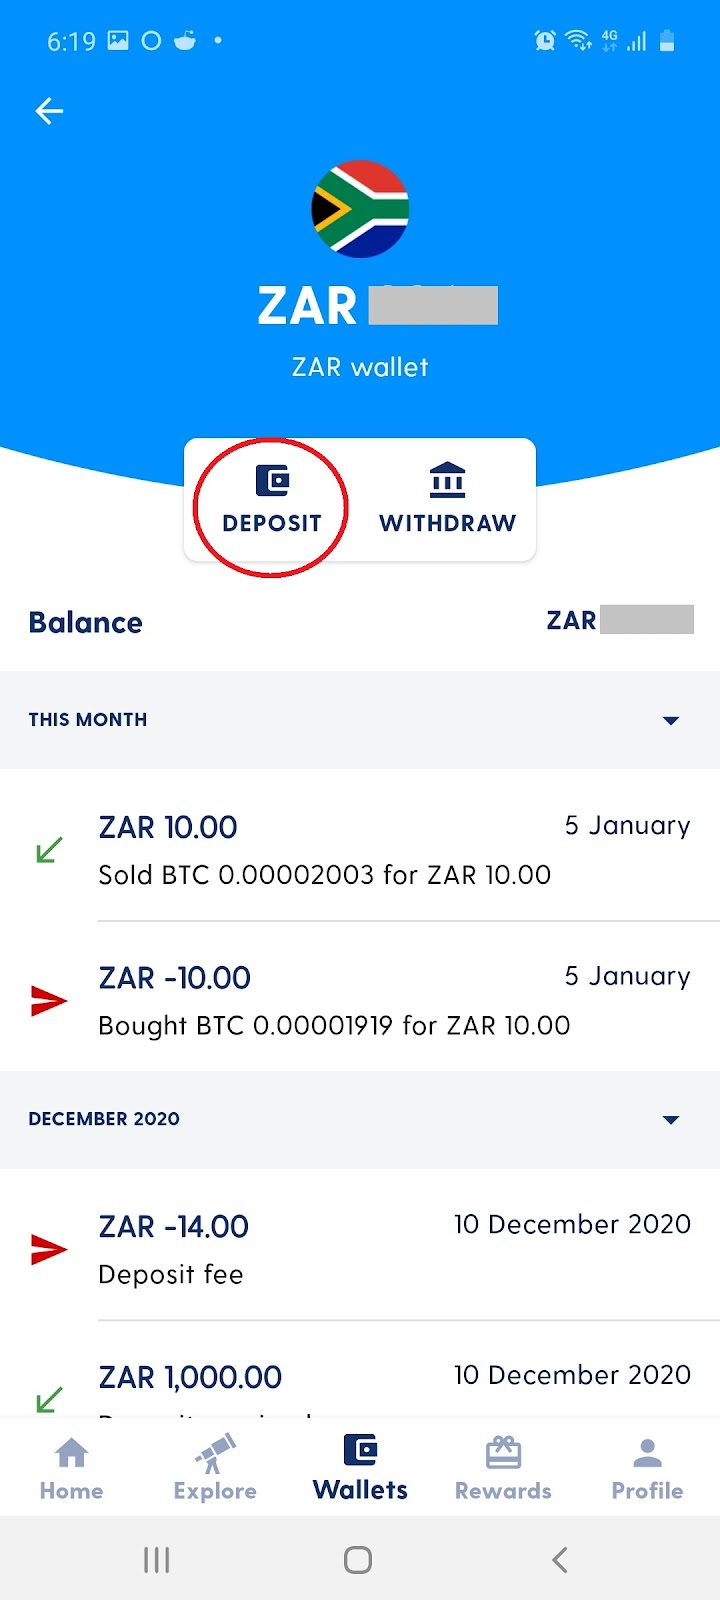
2.3 Select the ‘Deposit’ Icon:
2.4 Select between Bank Transfer and Instant EFT (Recommended):

Note: Instant EFT is a good option because Bank transfers can take up to 48 hours to process deposits. Instant EFT however might have more fees.
2.5 Fill in how much you would like to deposit and select ‘Next’:

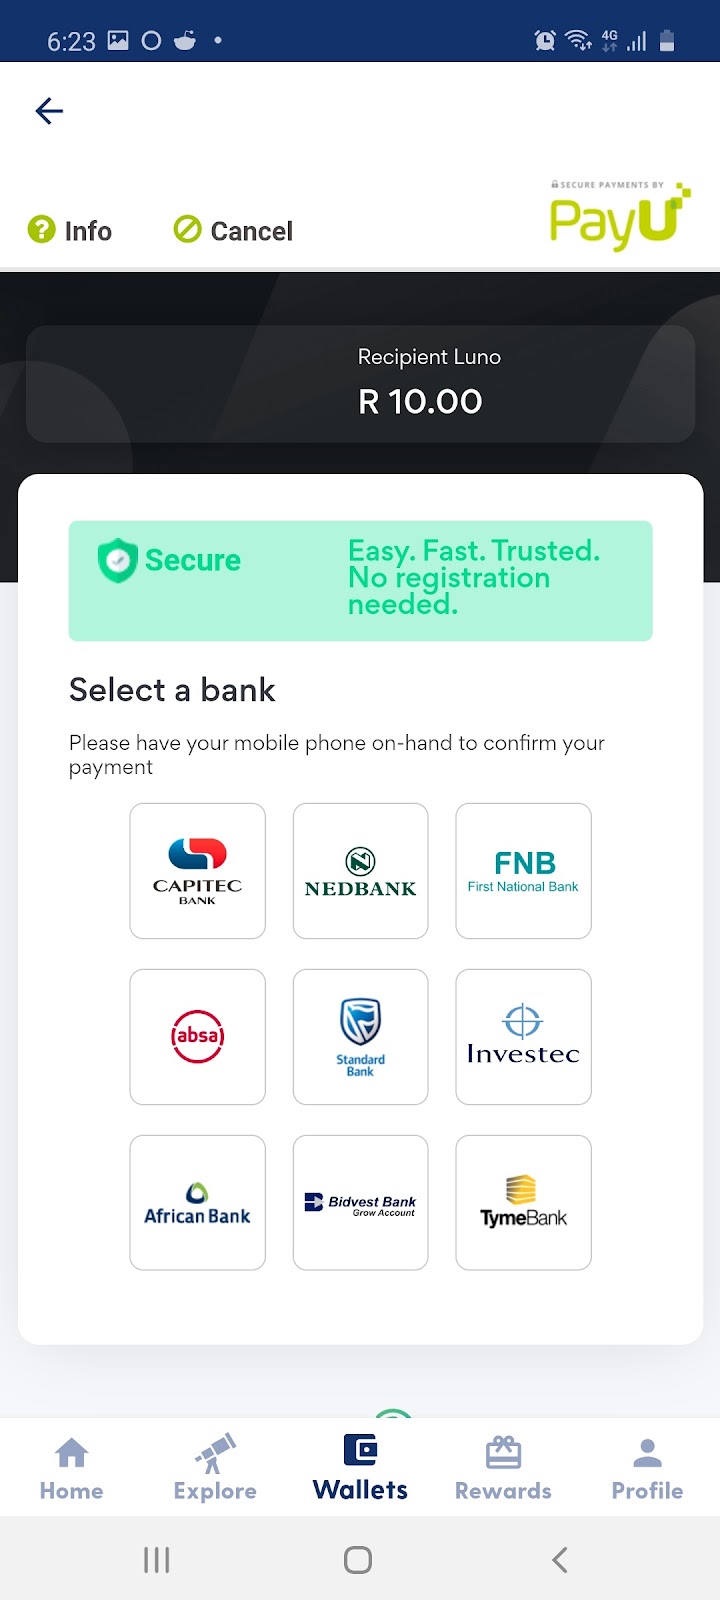
2.6 Select ‘Continue to PayU’:

2.7 You will be redirected to PayU to do an instant EFT from your bank account:
Note: Once your instant EFT transaction is complete, you can begin buying the cryptocurrencies of your choice.
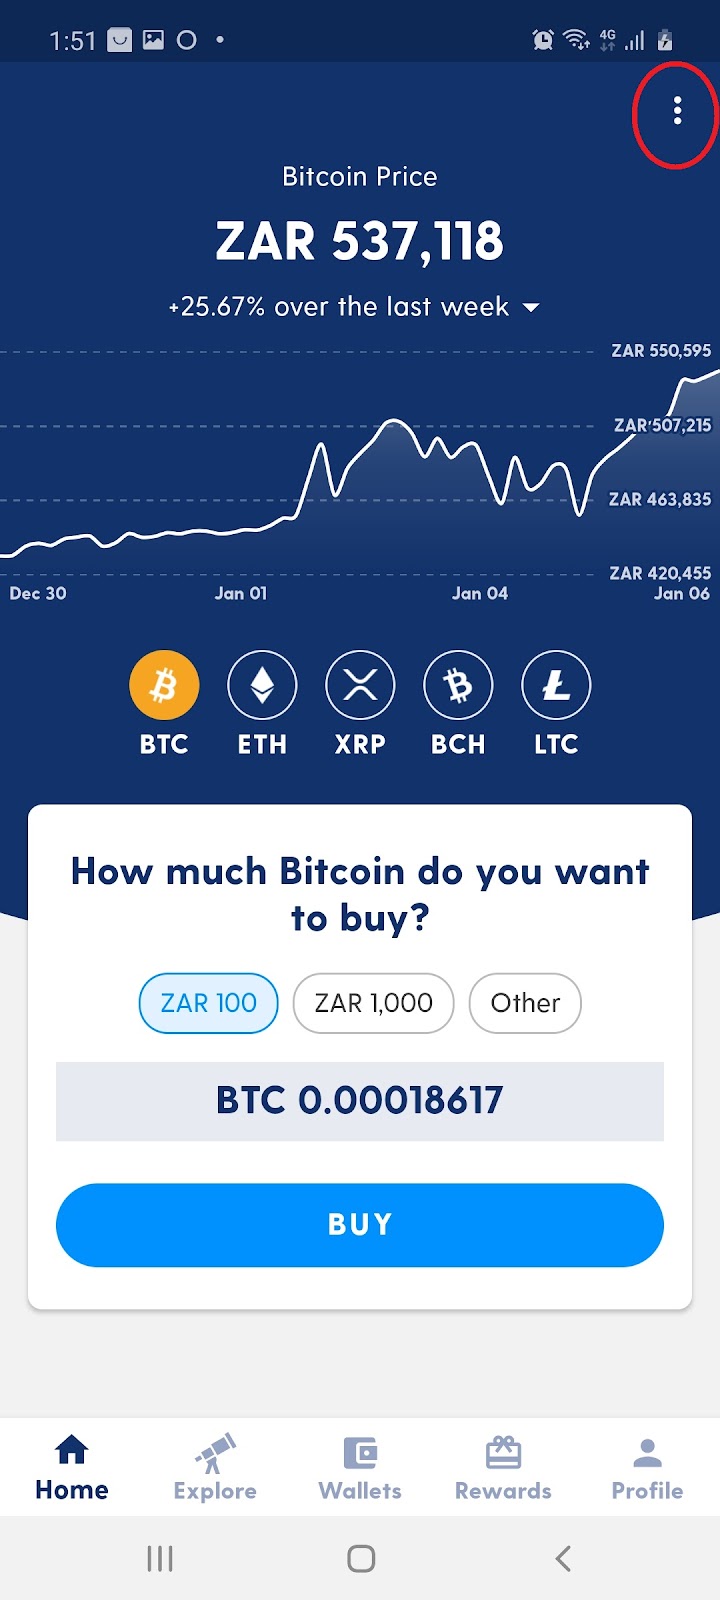
3. Buying Cryptocurrency
3.1 On Luno you can buy Bitcoin, Ethereum, Ripple, Bitcoin Cash and Litecoin:
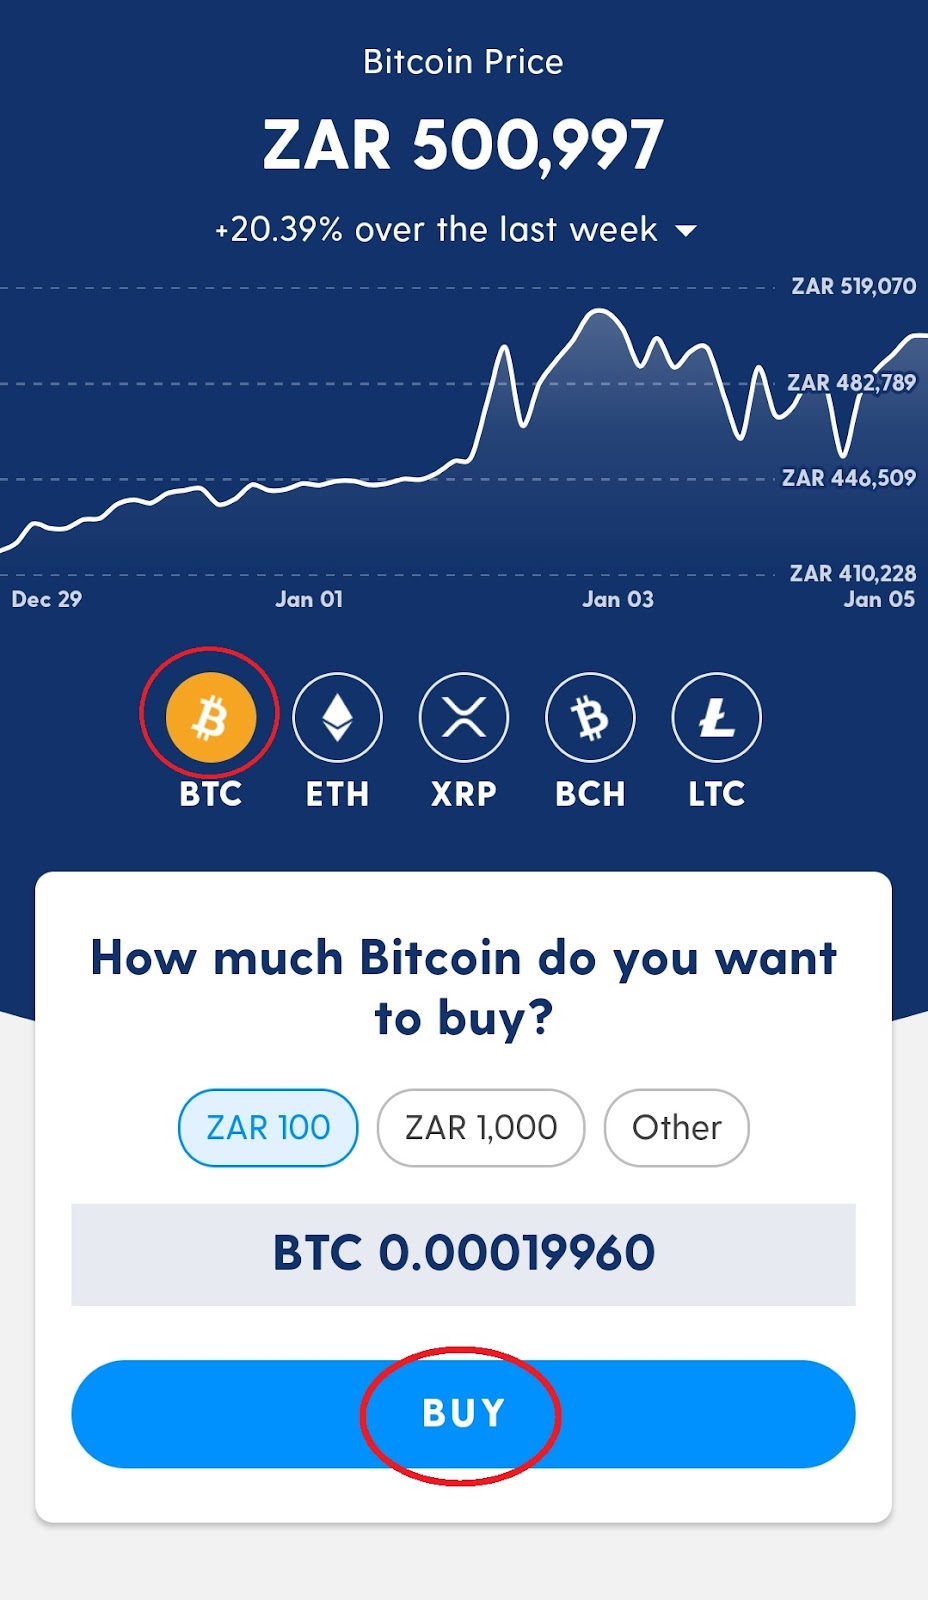


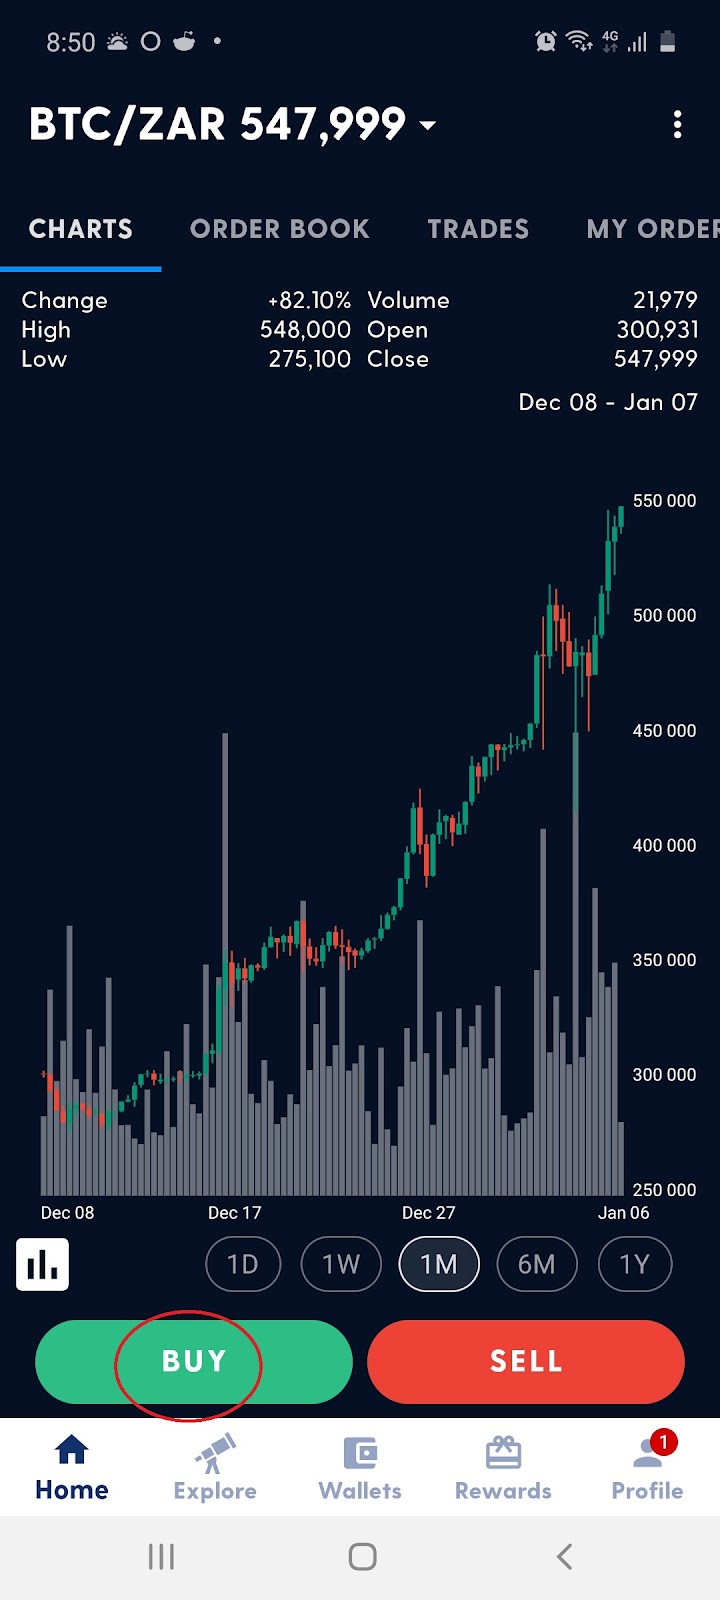
3.2 For example to buy Bitcoin, on the home page, select the BTC icon and press ‘Buy’:

- Select how you would like to pay for your Bitcoin:

- Select the currency, amount, frequency and press ‘Next’:

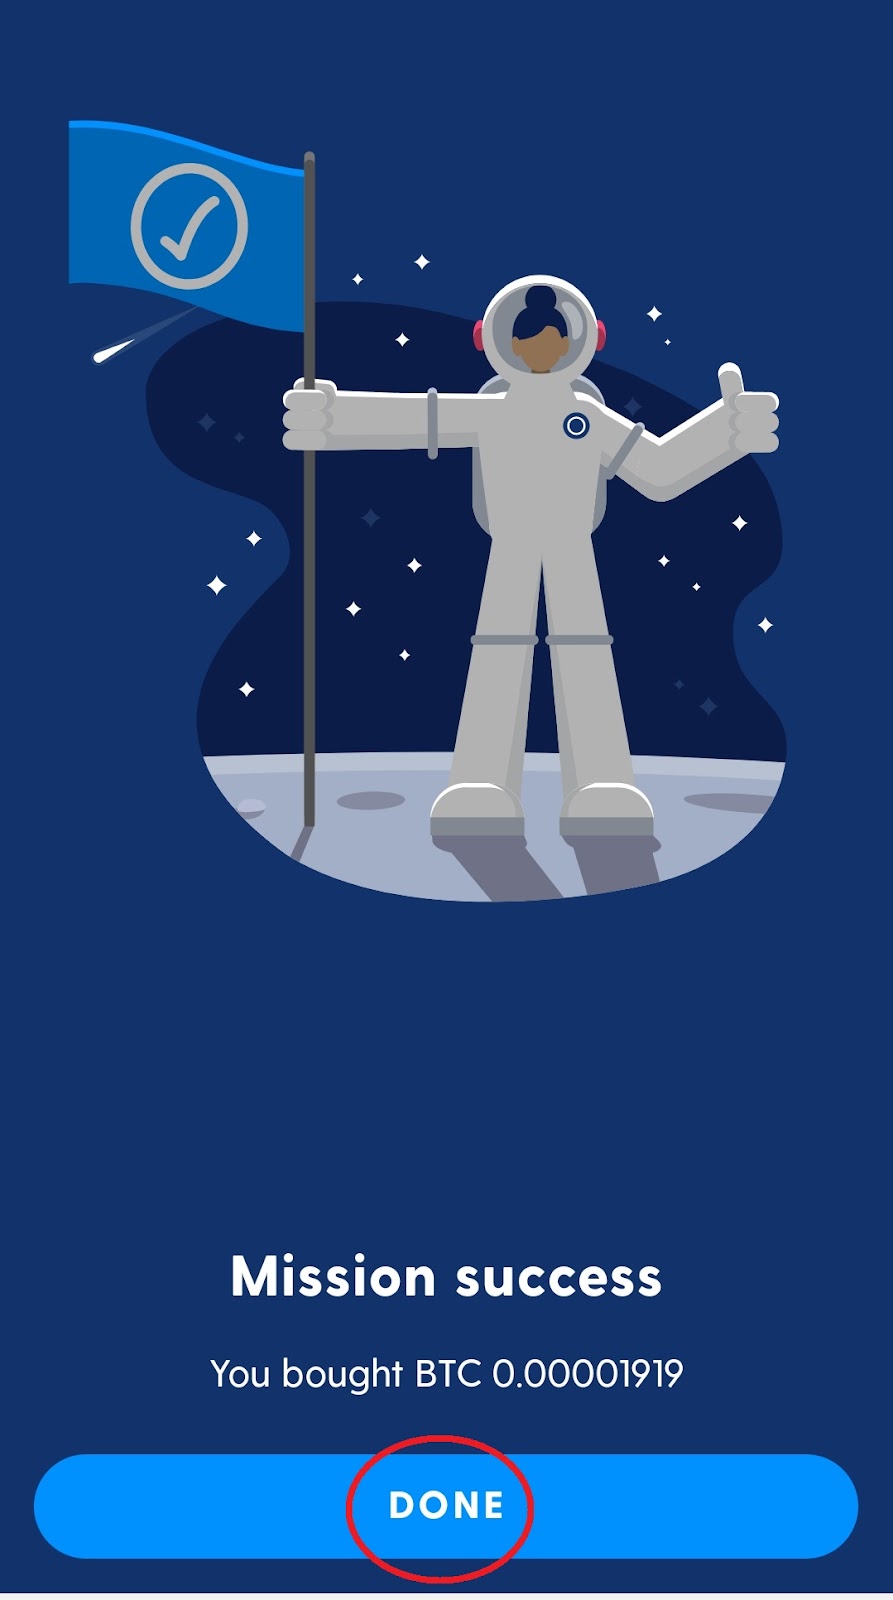
- Finally ‘confirm’ the amount, enter your ‘pin’ and press ‘done’:


4. Selling Cryptocurrency
4.1 From the home page select ‘wallets’:

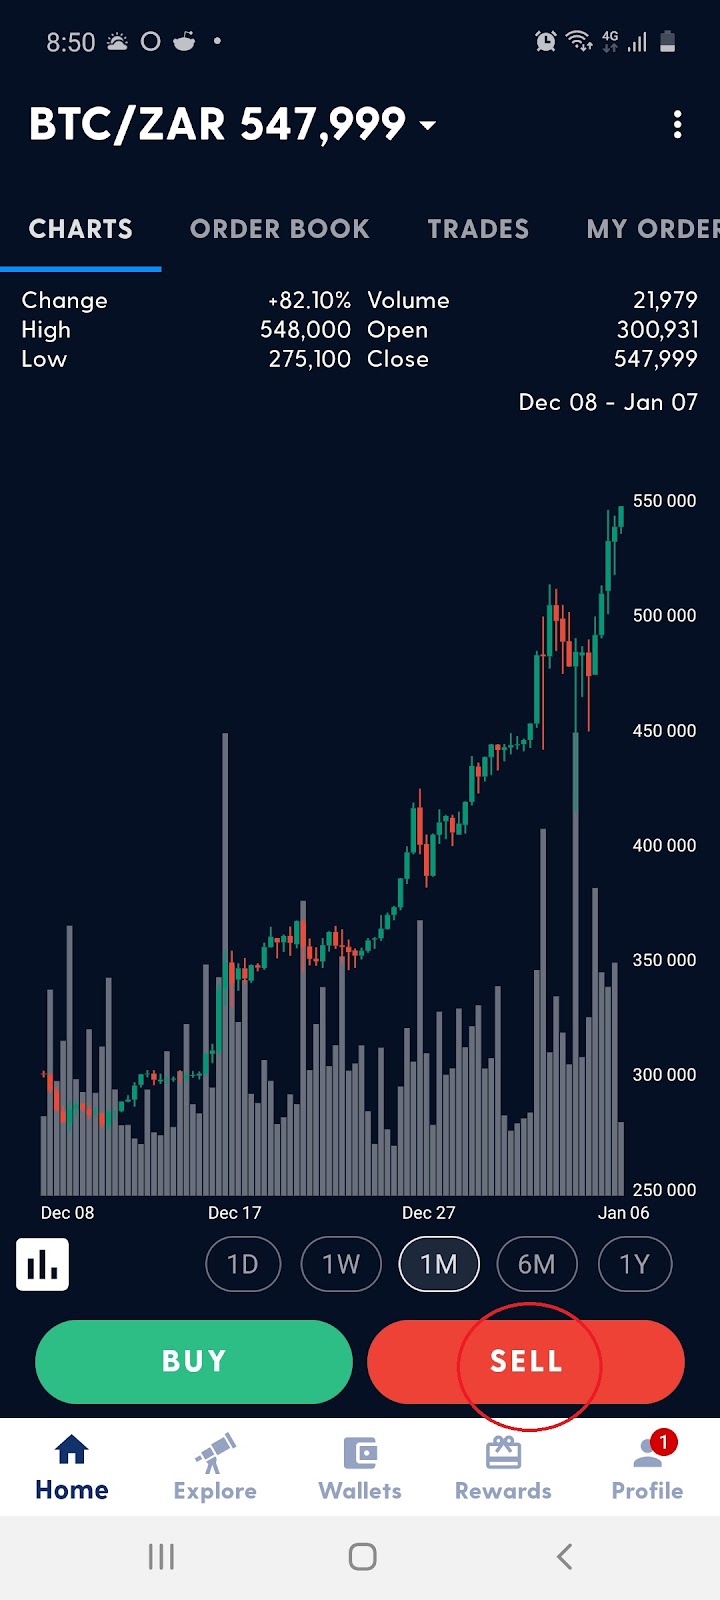
4.2 Select the ‘Sell’ icon:

4.3 From the pop up choose the cryptocurrency you would like to sell (e.g. Bitcoin):

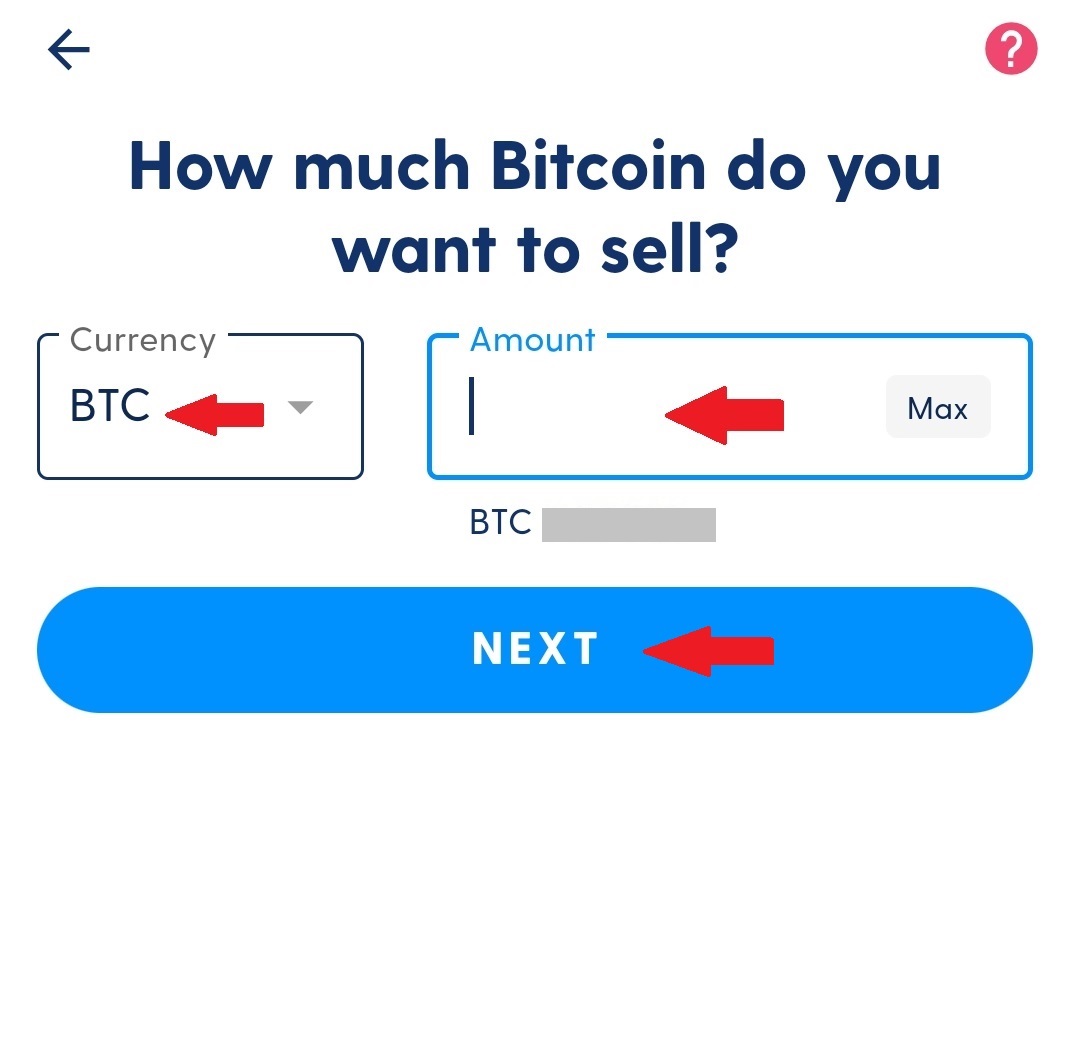
4.4 Choose the currency you would like to sell into:

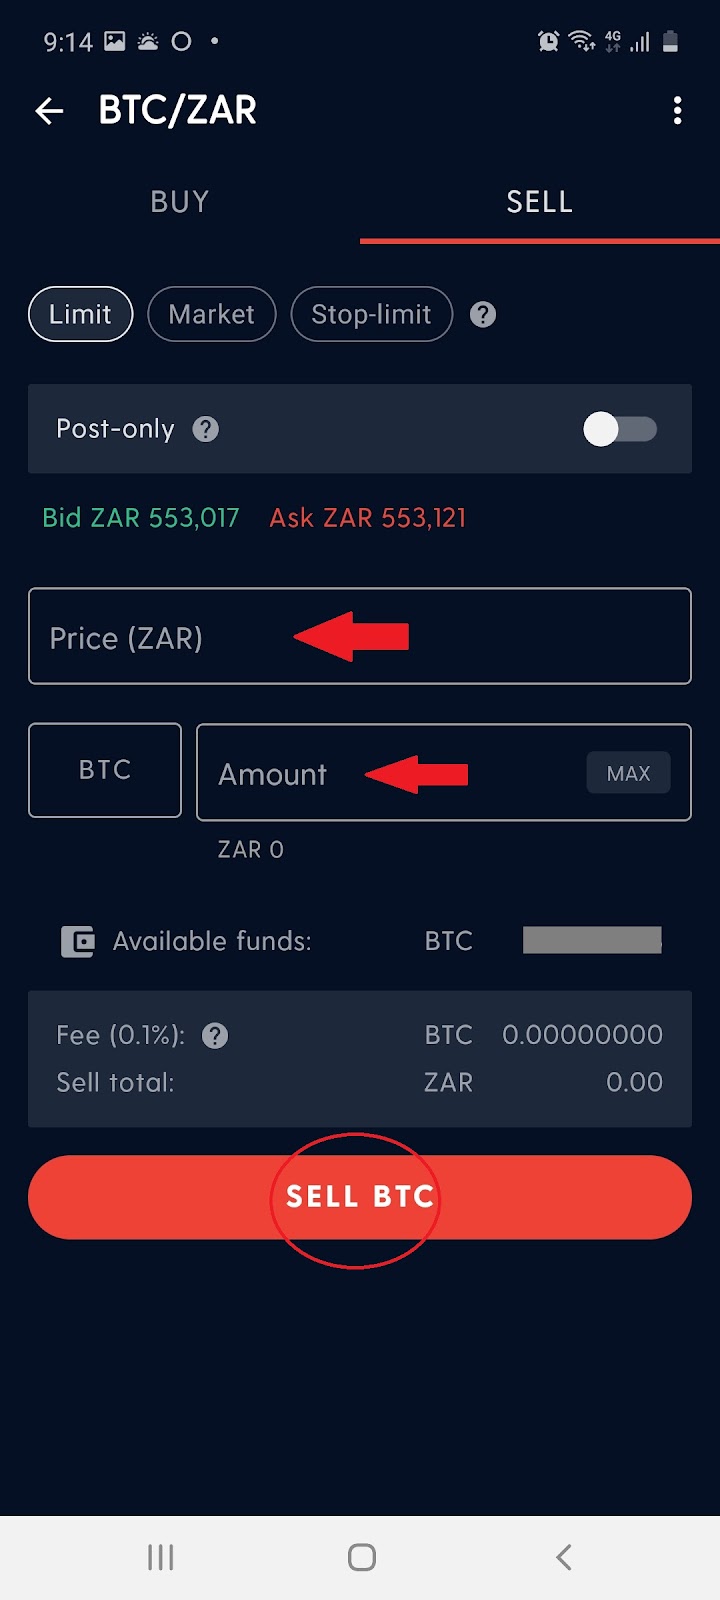
4.5 Select the currency, the amount and press next:
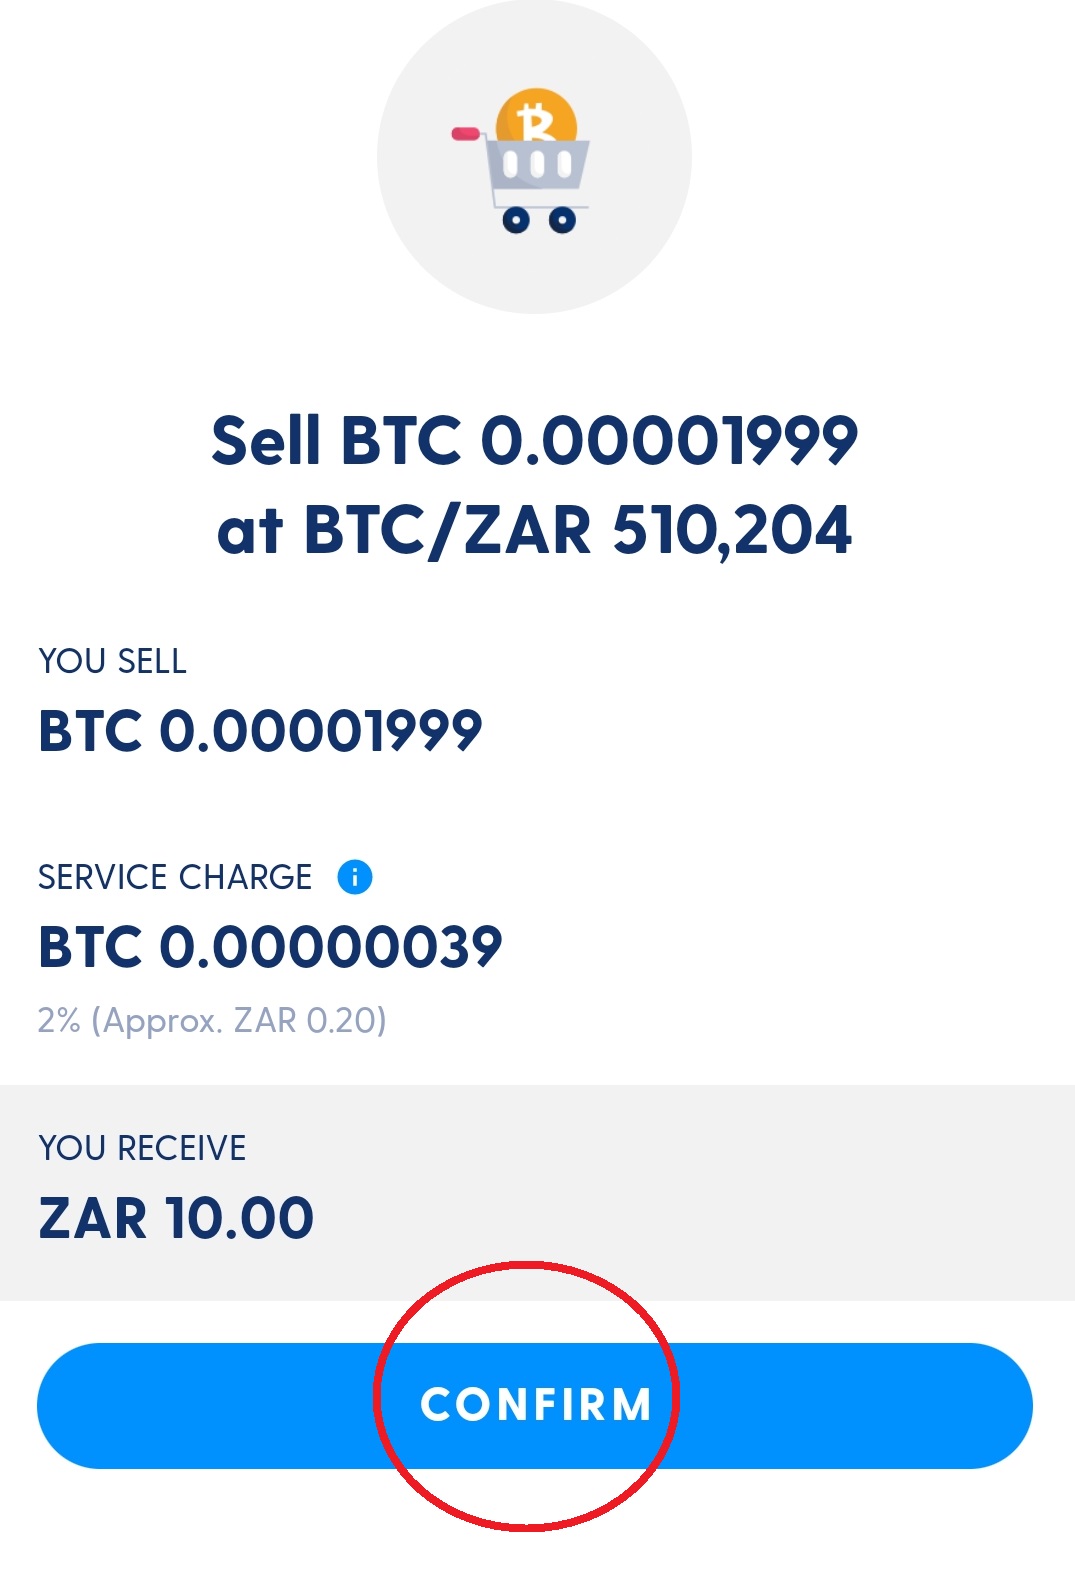
4.6 Finally ‘confirm’ the amount, enter your ‘pin’ and click ‘done’:

5. Sending Cryptocurrency
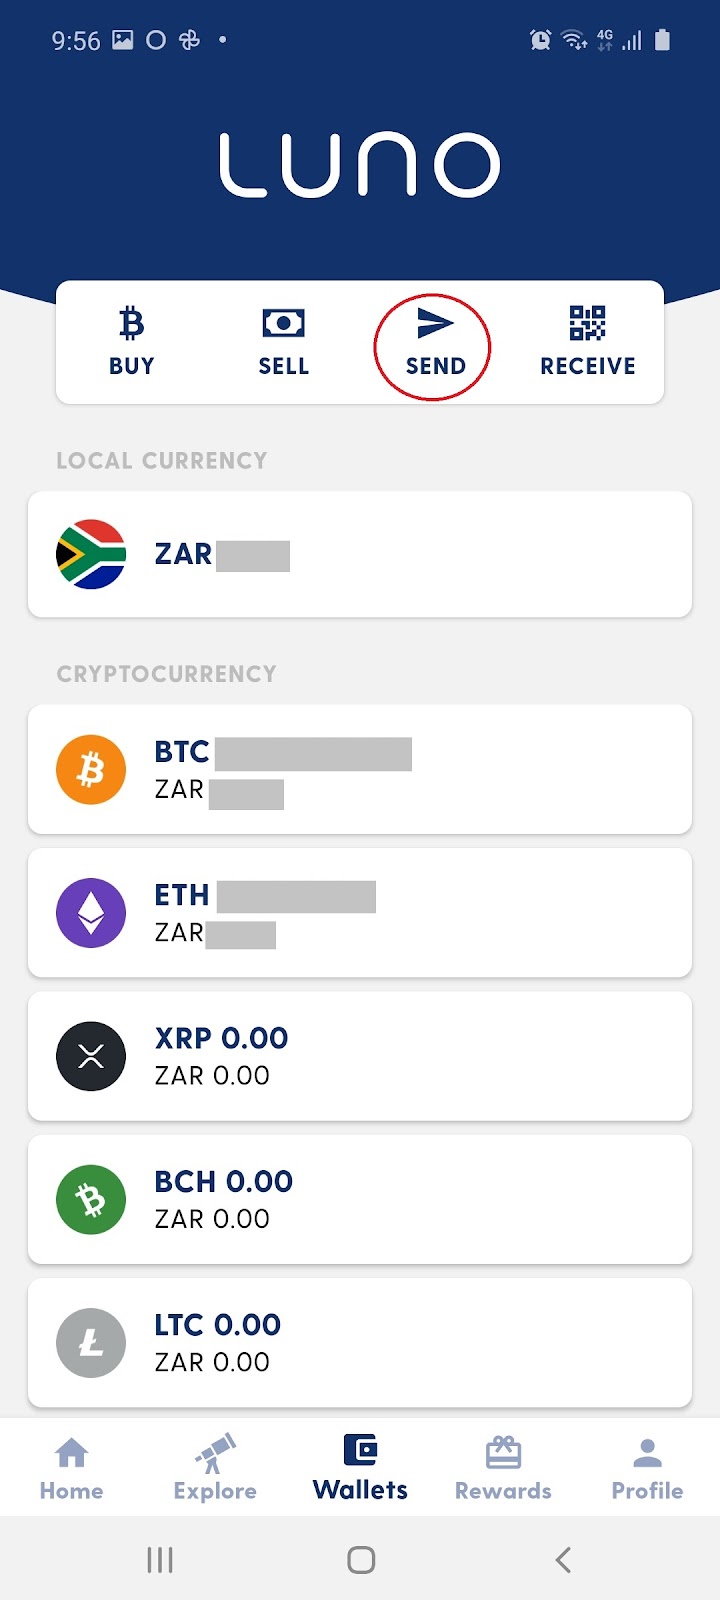
5.1 From the wallet landing page select the ‘Send’ icon:
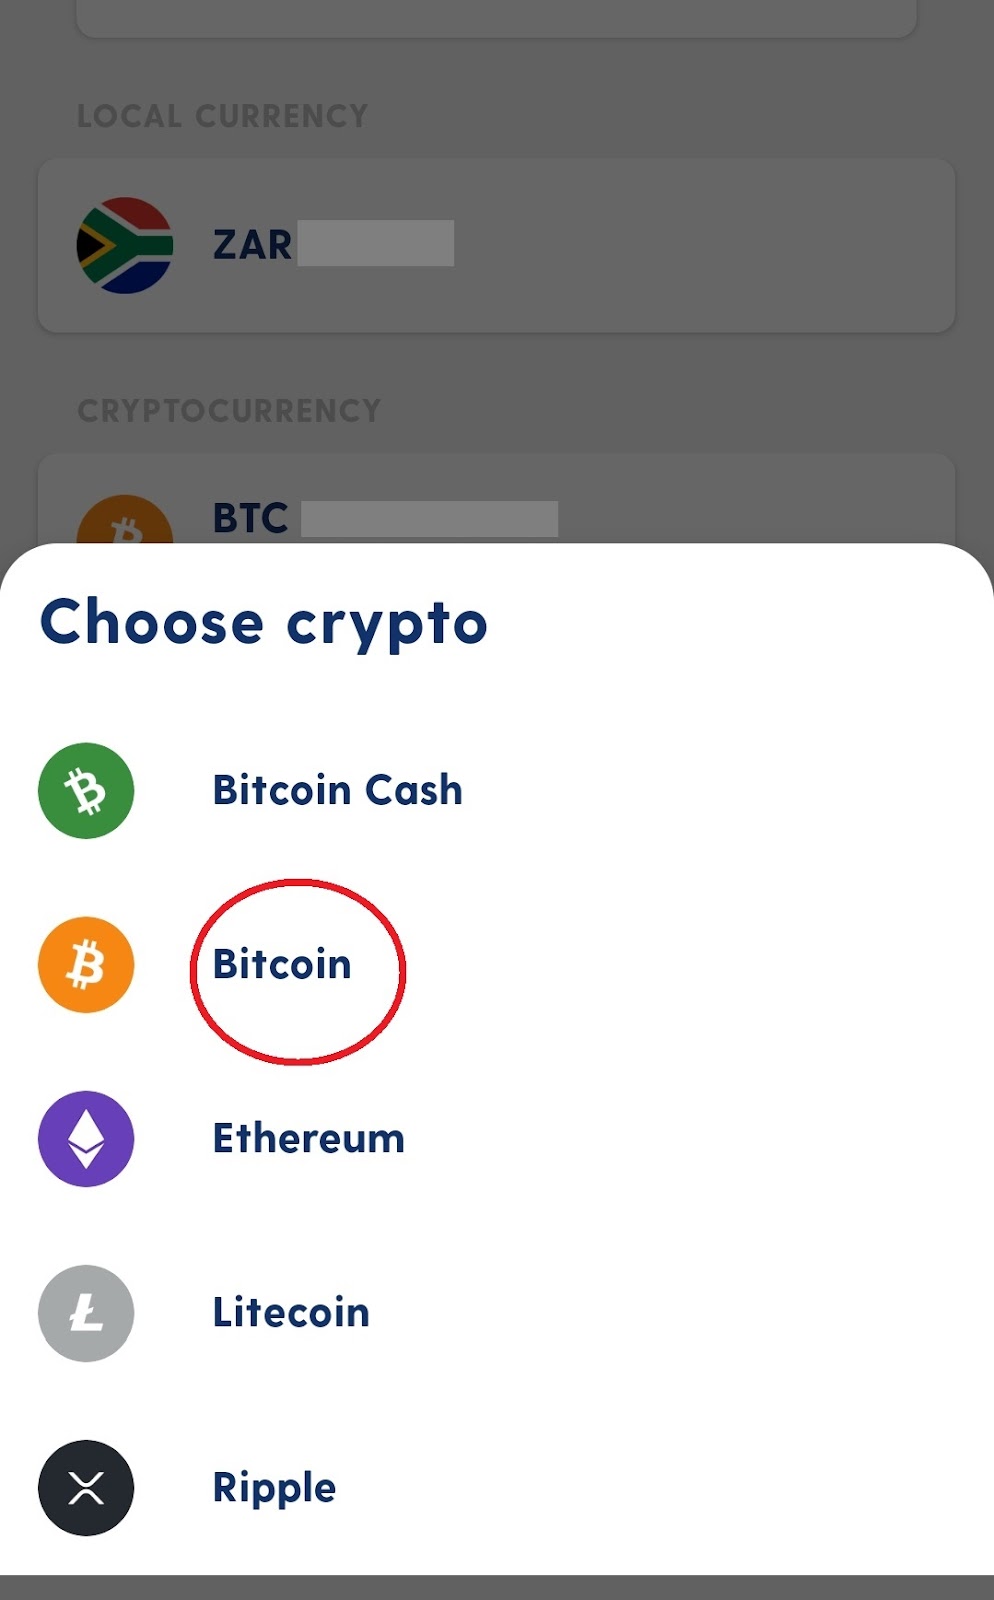
5.2 Choose from the pop up which cryptocurrency you would like to send (e.g. Bitcoin):
5.3 Select who to send to via email, mobile or Bitcoin Address (recommended):

5.4 Select the currency, choose an amount to send and press ‘Next’:

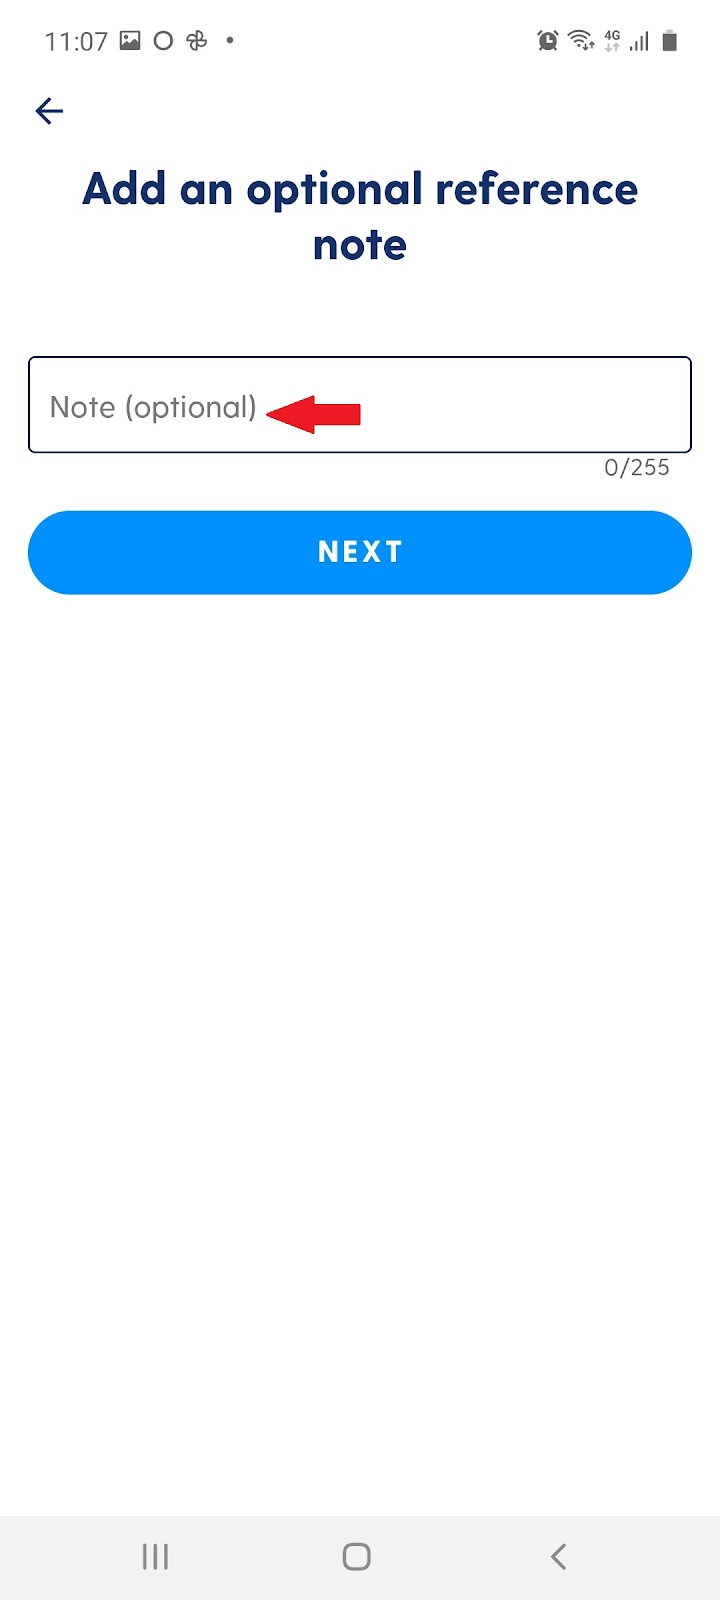
5.5 Add an optional reference note:
5.6 Finally ‘confirm’ the amount, enter your ‘pin’ and authorize the transaction:


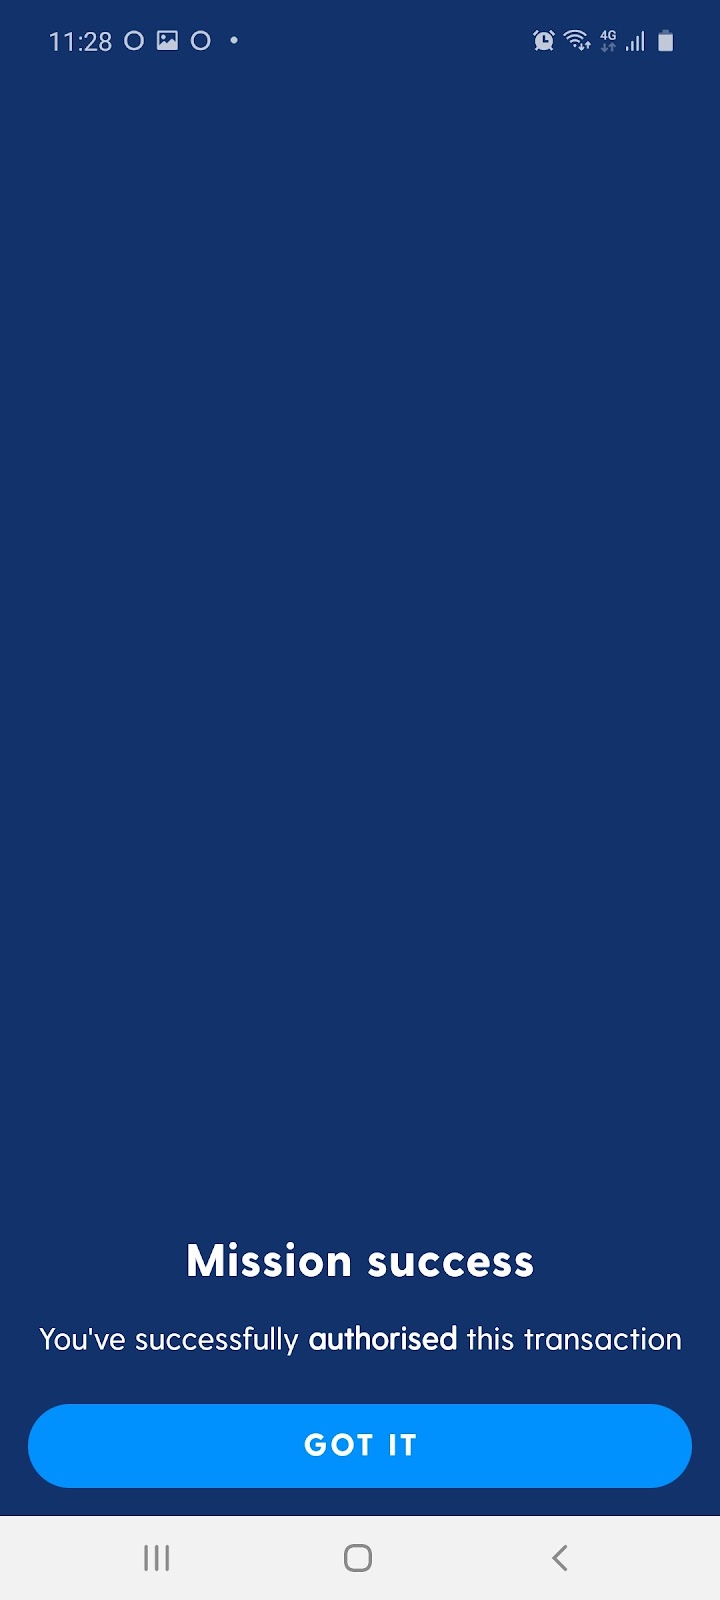
Note: Authorization will involve a confirmation from your email.
6. Receiving Cryptocurrency
6.1 From your wallet landing page, select the ‘Receive’ icon:
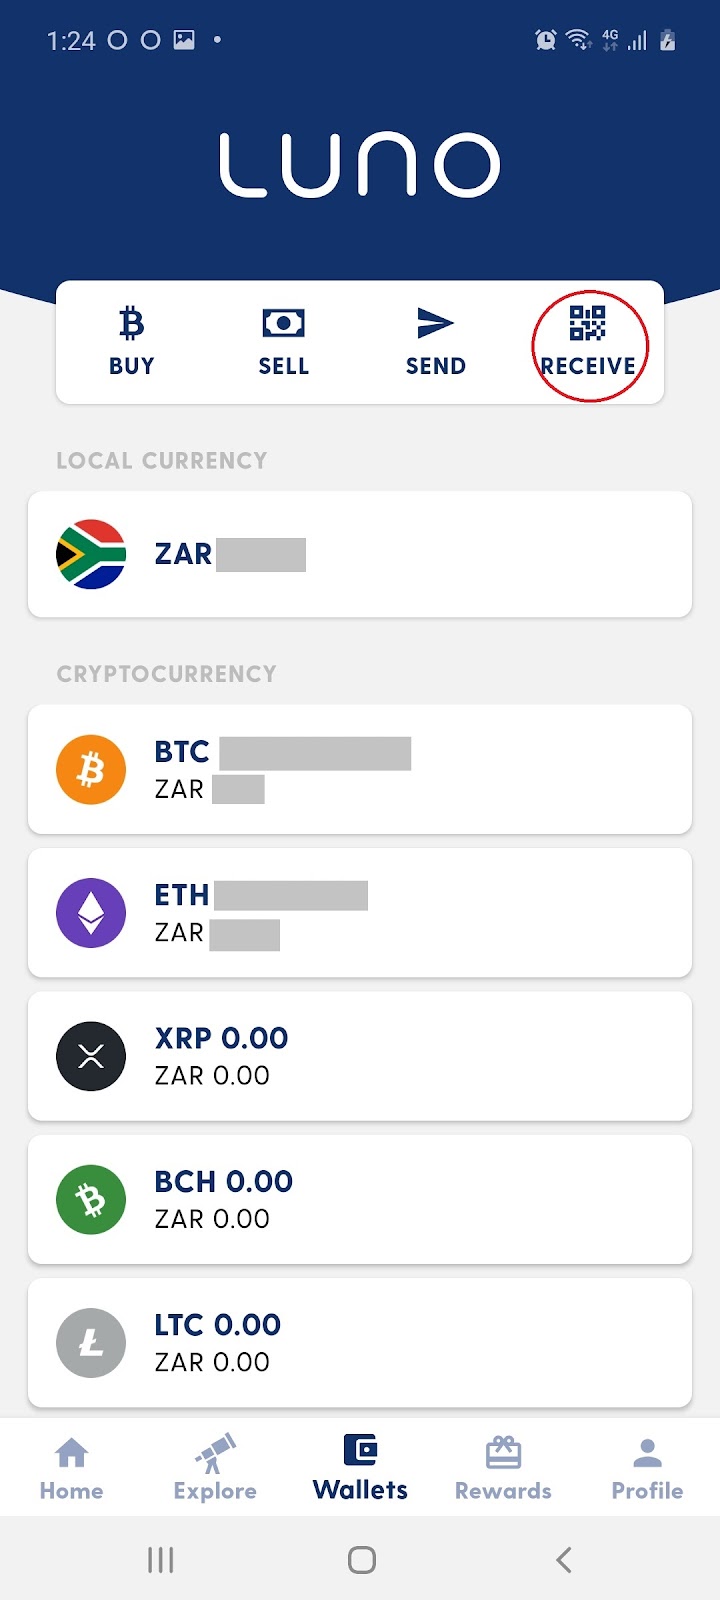
6.2 Select a receive address (if you don’t have one, you can create one at the bottom):

6.3 Receive cryptocurrency by scanning your QR code or by copying your unique address:

7. Exchange
The Luno Exchange is simply a platform that connects buyers with sellers. You’re able to place limit orders. This allows you to select a price at which you want to buy your crypto, and this order stays pending until the market reaches your price.
7.1 From the home page select ‘Exchange’:

7.2 The exchange will look like the following:
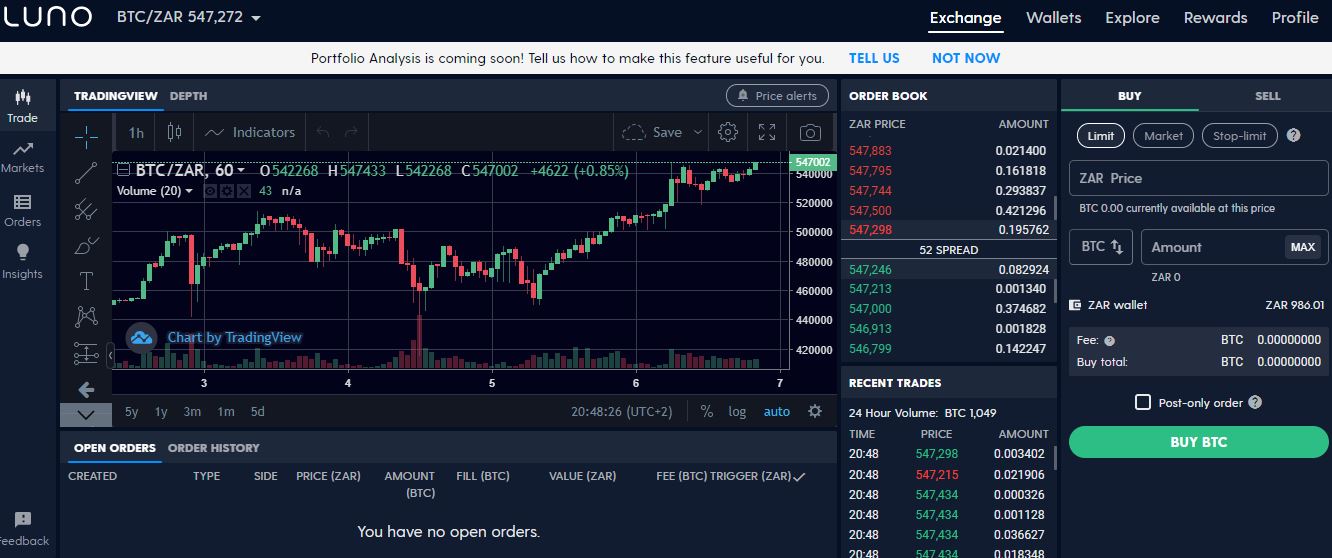

7.3 To buy into the market, select ‘Buy’. Specify the amount you want to buy and what price you are willing to pay:

7.3 To sell into the market, select ‘Sell’. Specify the amount you want to sell and what price you want to sell it for:
Note: To learn more about trading visit Crypto University at www.cryptouniversity.co.za.
8. Security
Since cryptocurrencies are decentralized, individuals have greater responsibility for protecting their transactions and wallets. Luno has security features built in to protect your cryptocurrency in case of theft of your mobile or laptop.
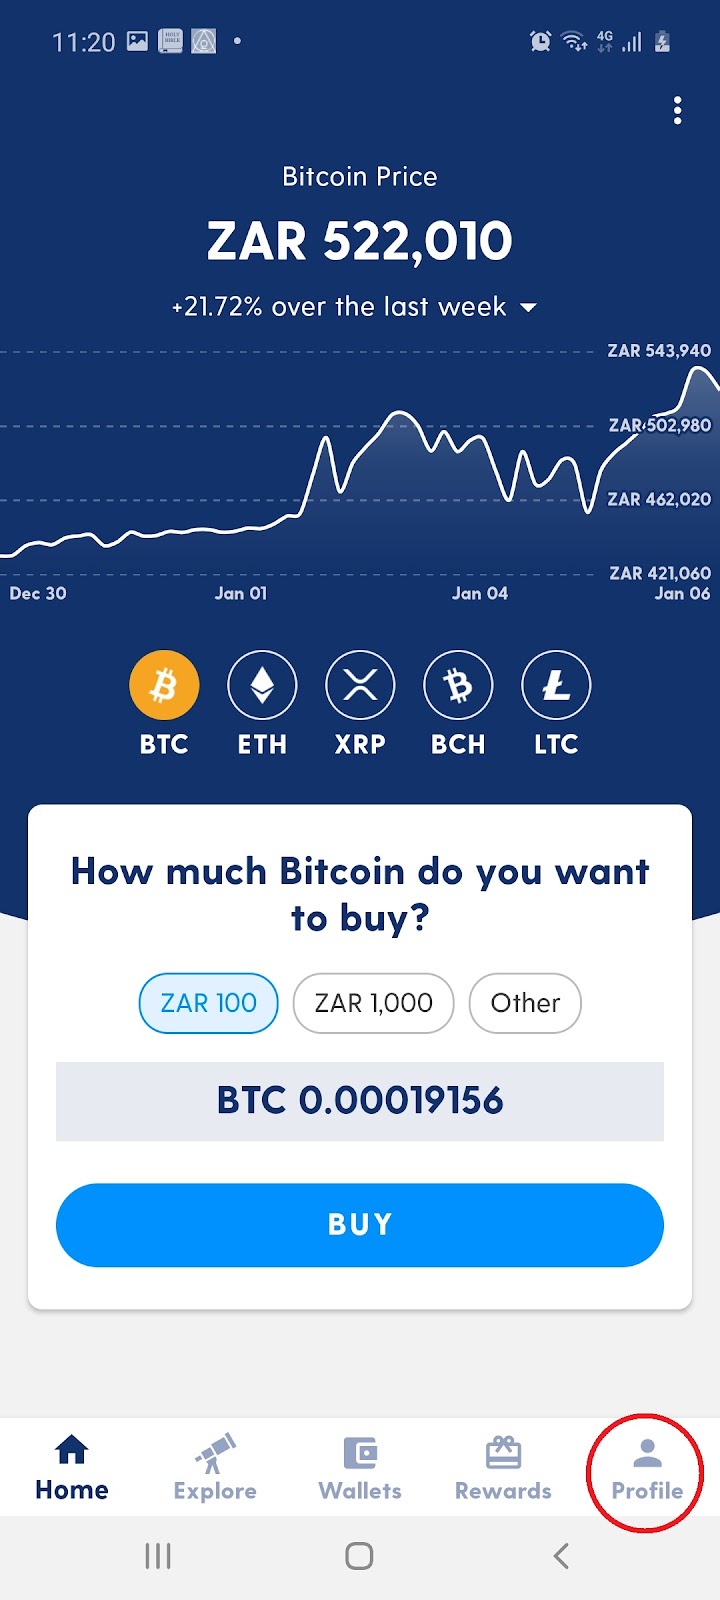
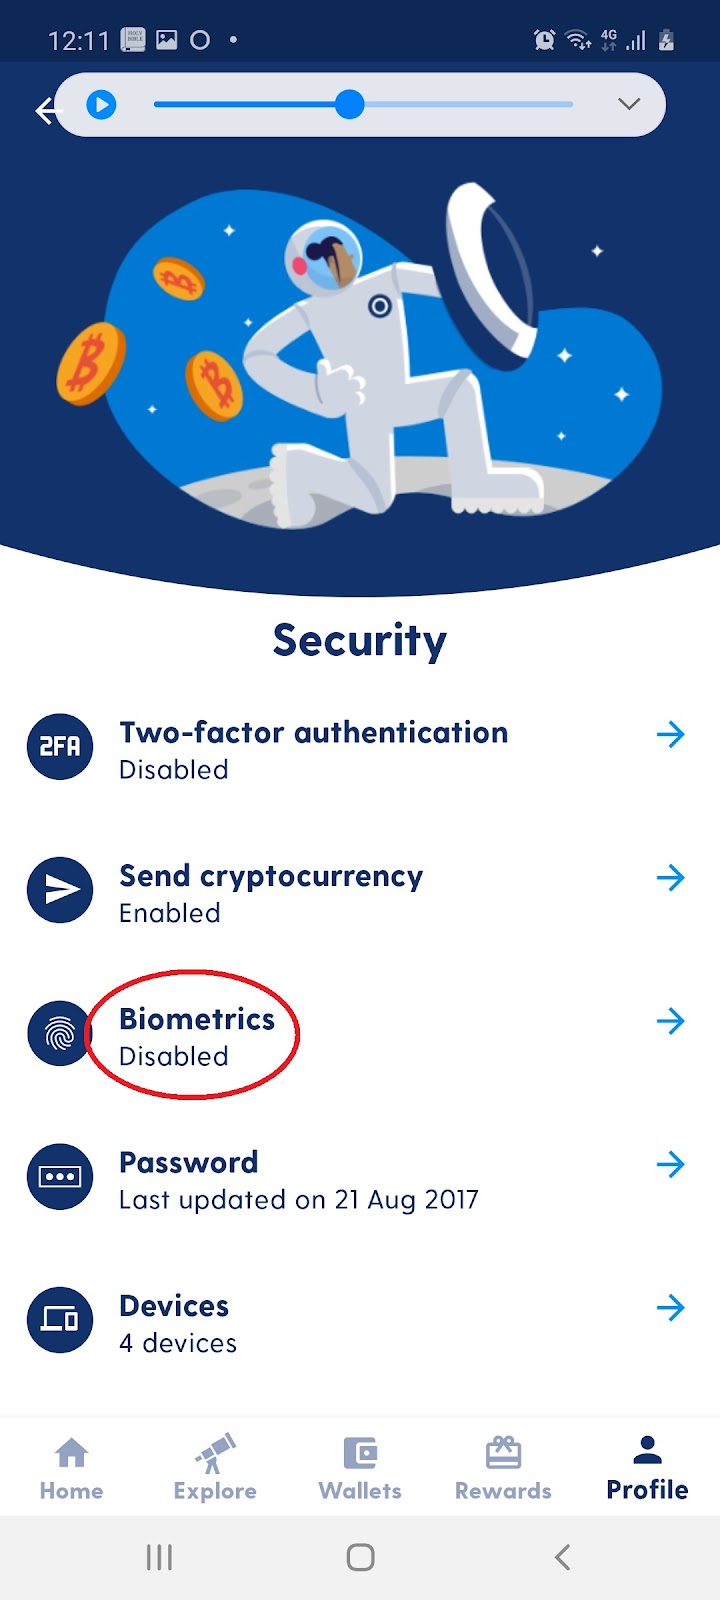
8.1 From the home page select ‘Profile’:
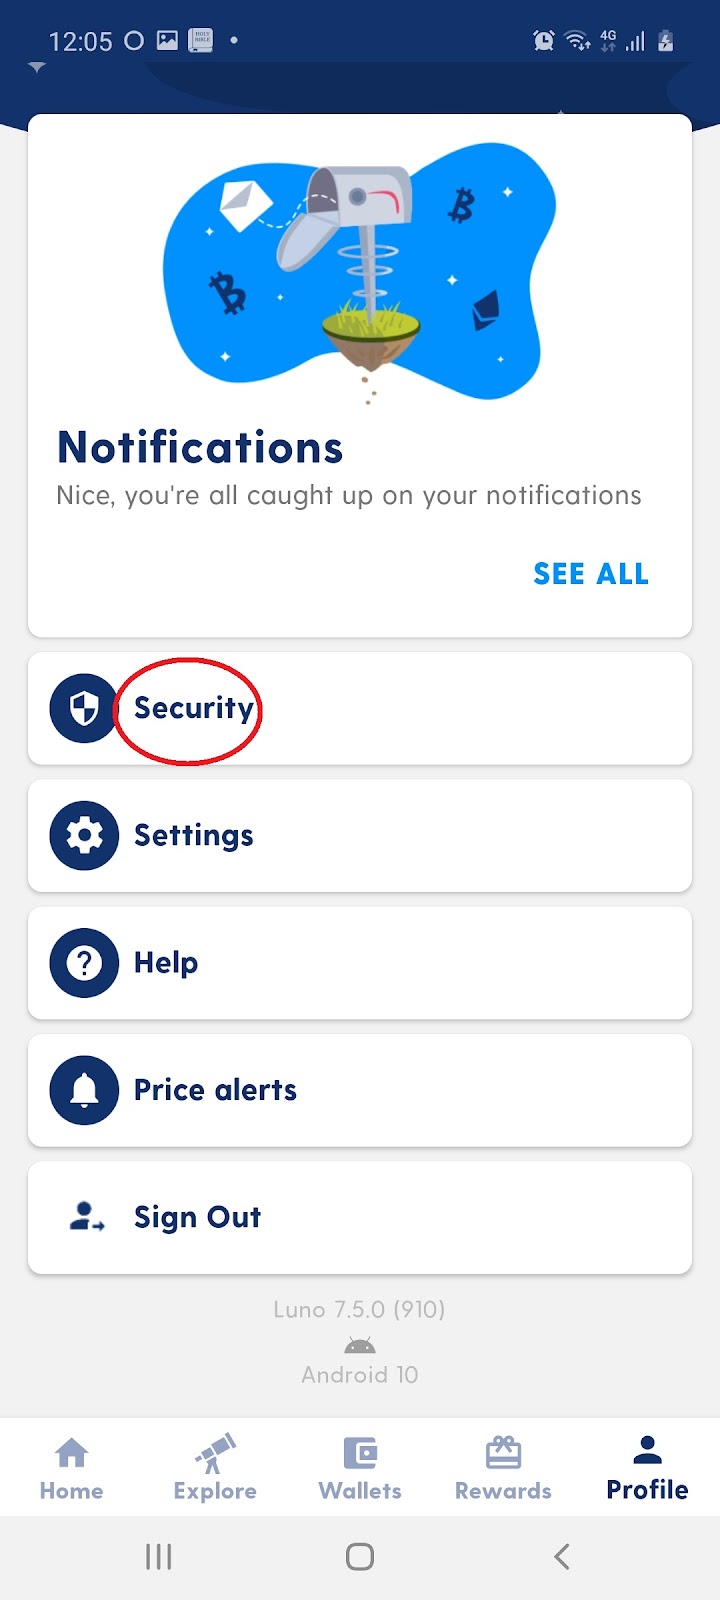
8.2 Select the ‘Security’ tab:
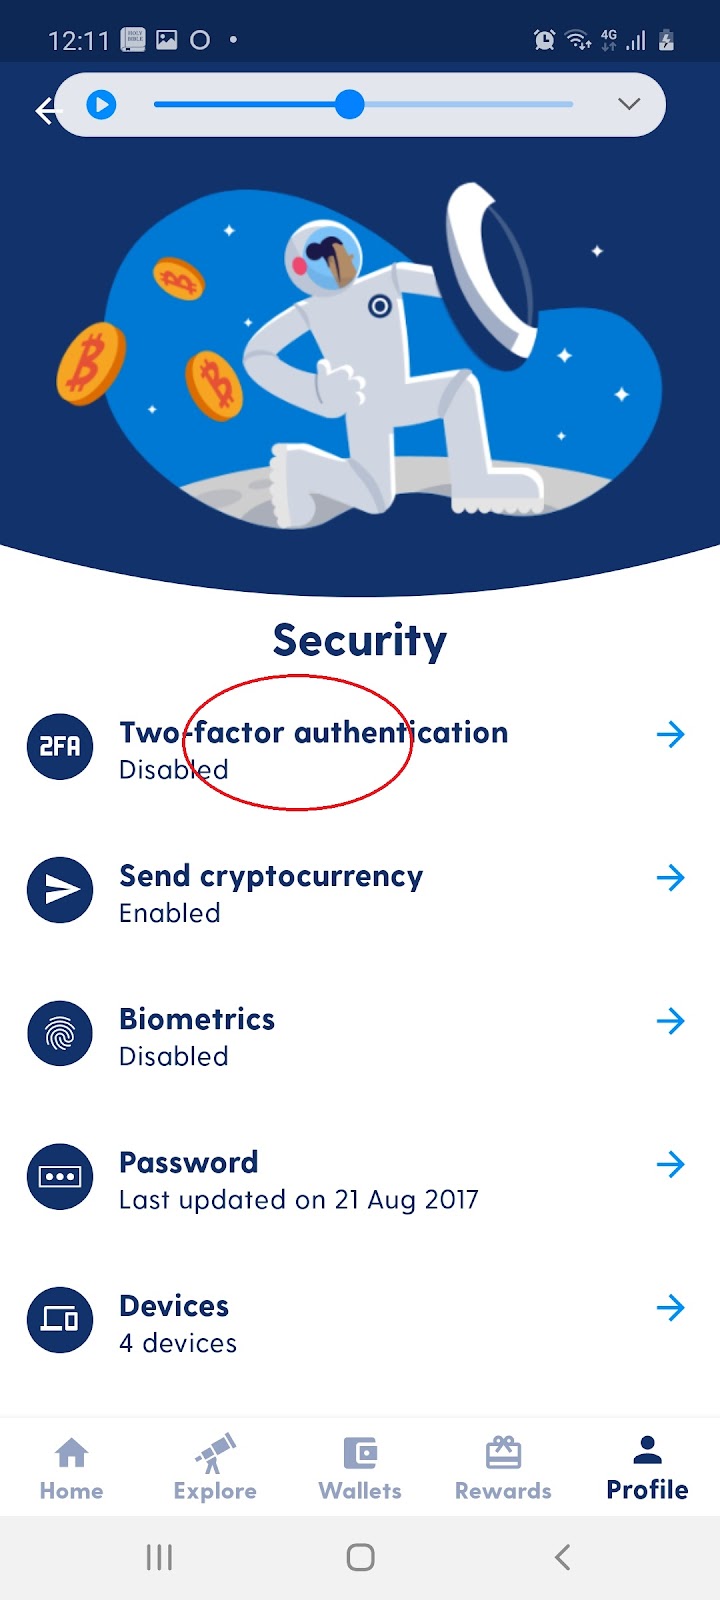
- To enable ‘Two-factor authentication’ select the tab and follow the instructions:
↙ ↘
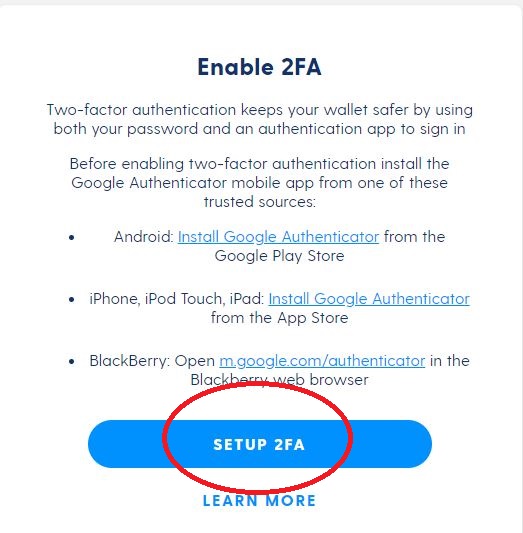
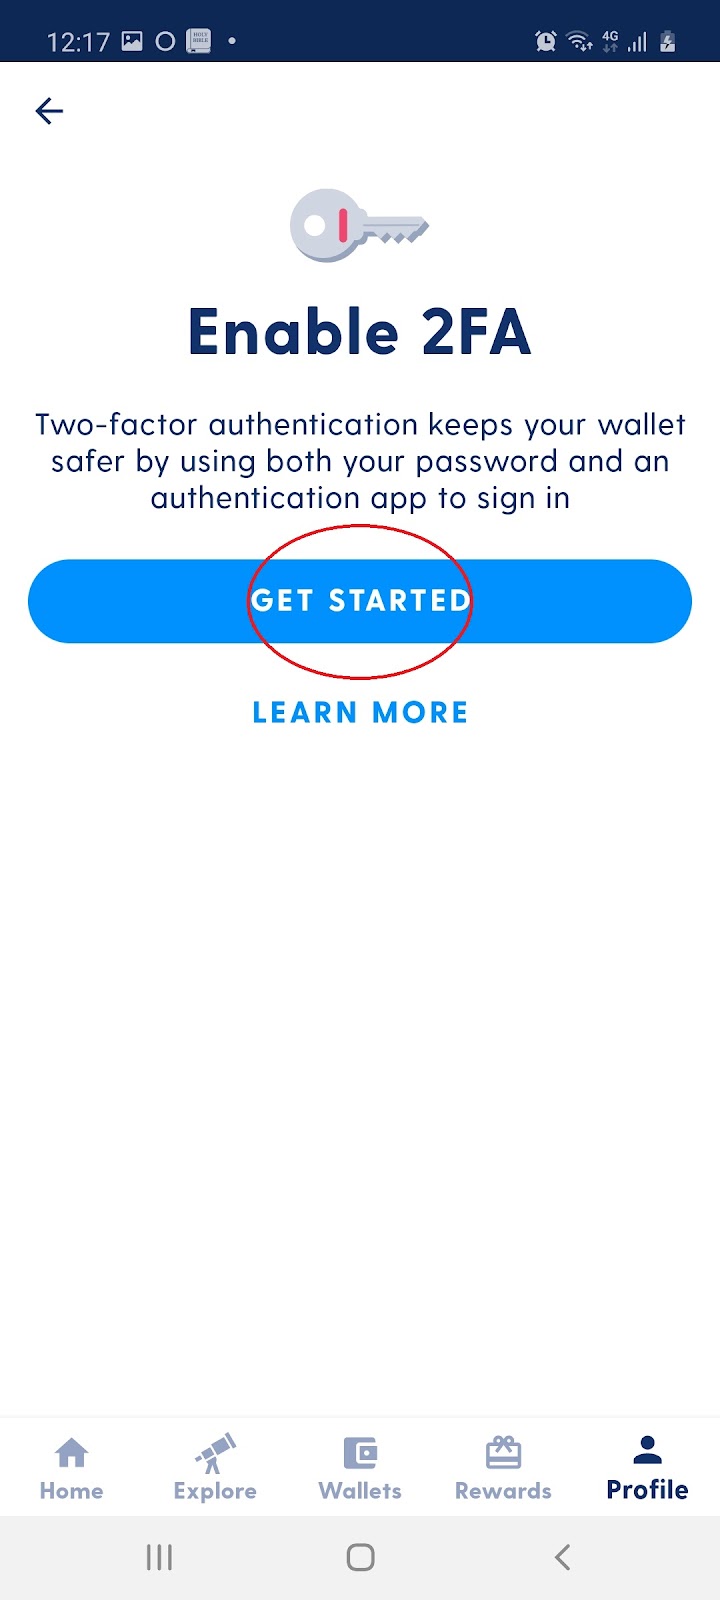
Note: This feature allows you to use SMS or Google Authenticator to verify your identity.
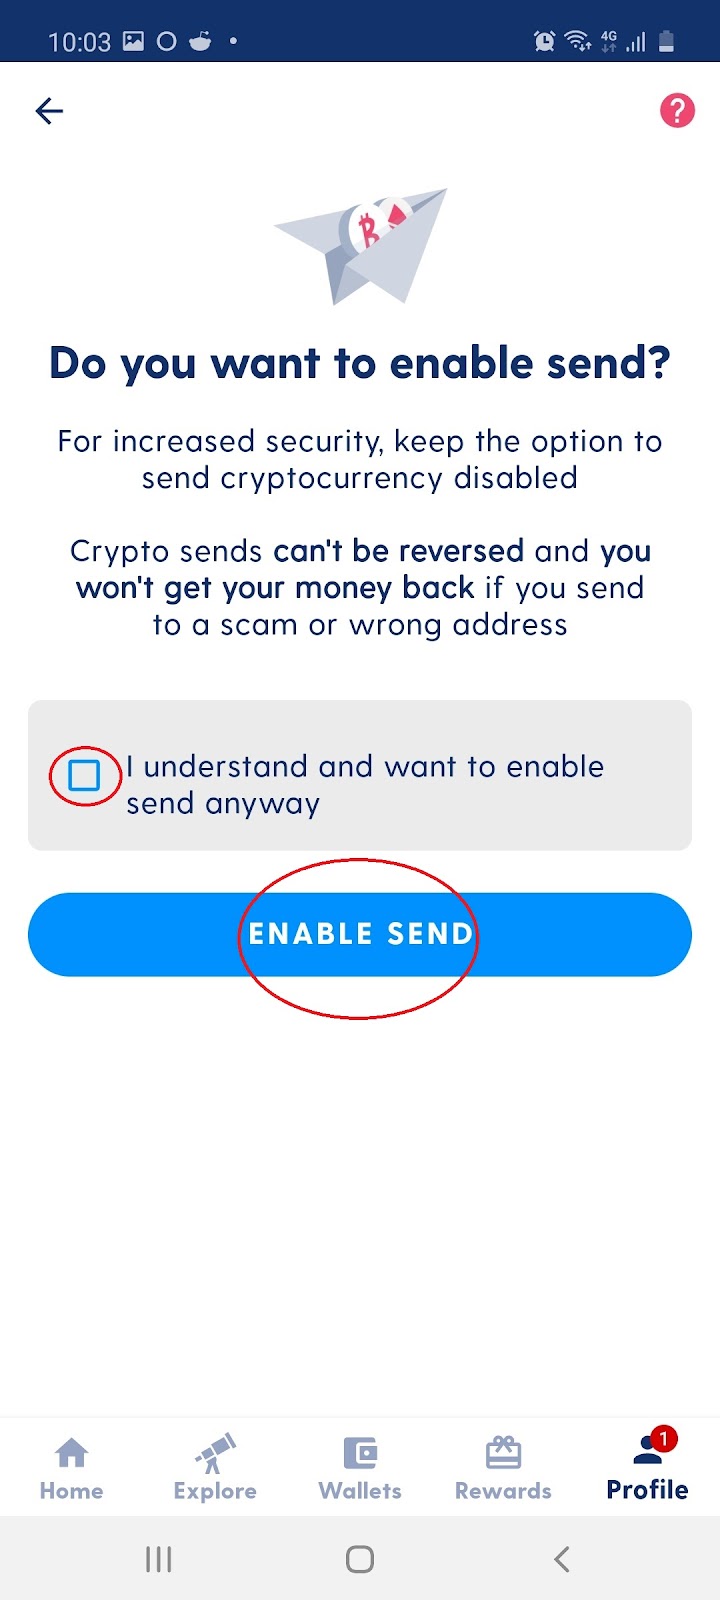
B. To enable sending of cryptocurrency select ‘Send Cryptocurrency’ and ‘Enable Send’:
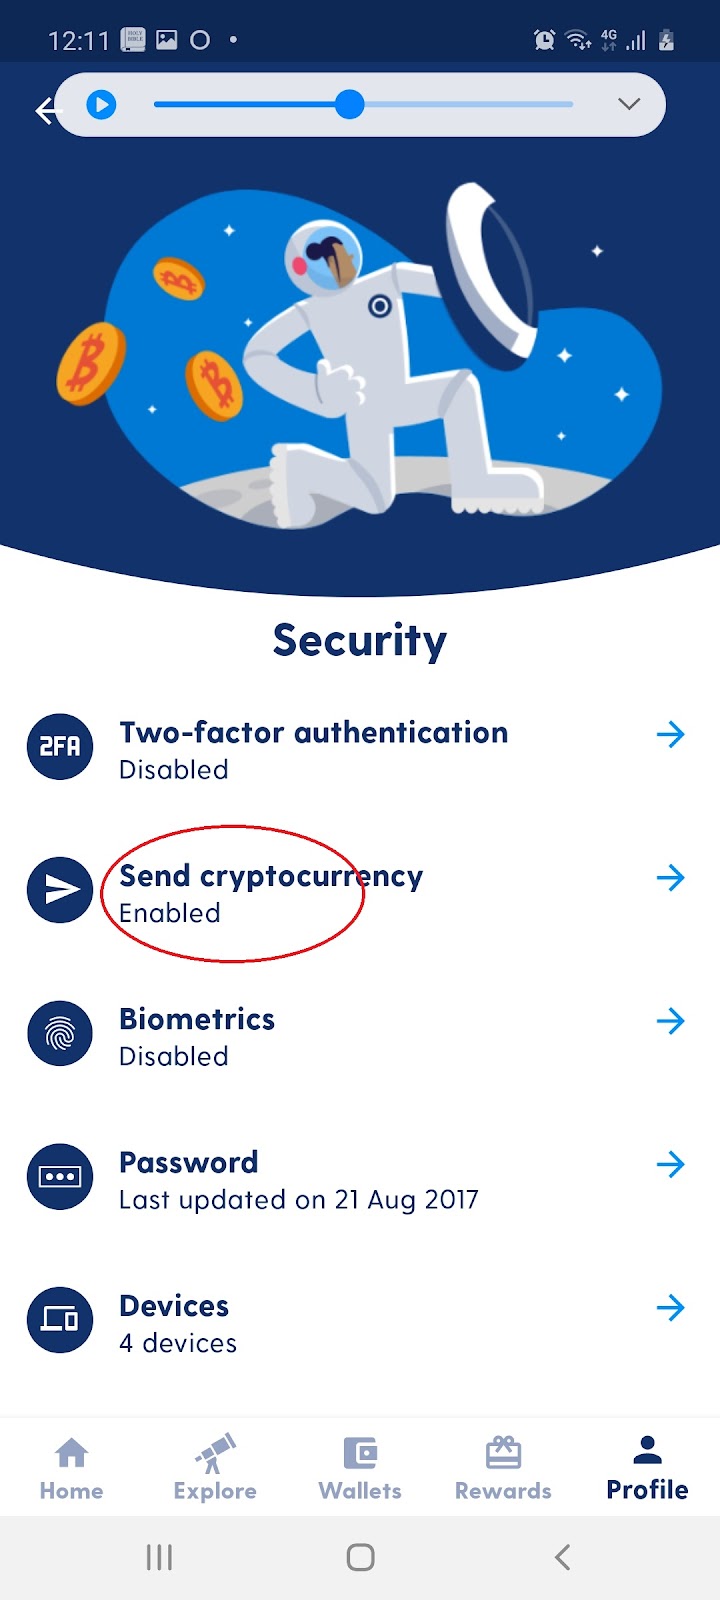
C. To enable biometrics select ‘Biometrics’, ‘Unlock the app and ‘Authorise actions’ :

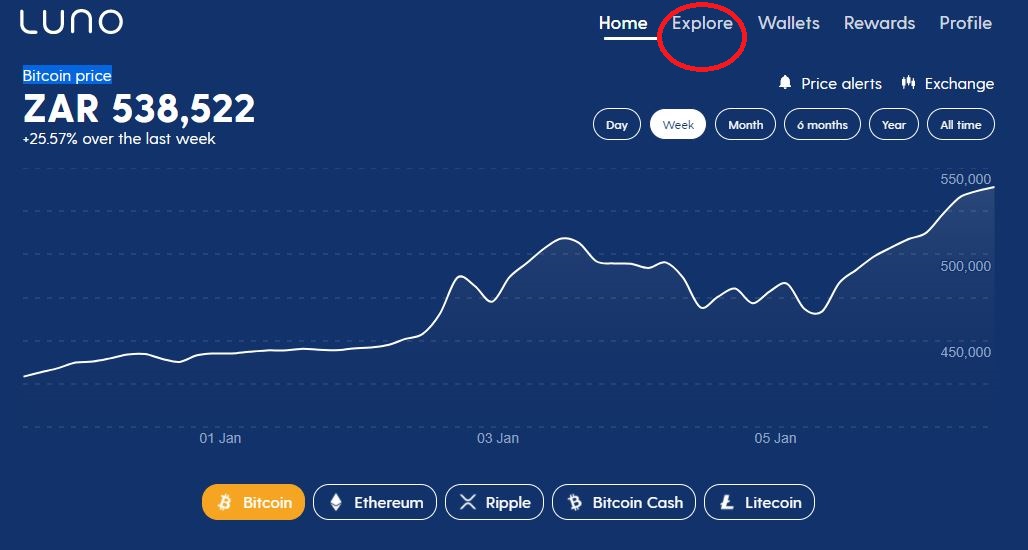
9. Explore
9.1 From the home page select ‘Explore’:

↘ ↙
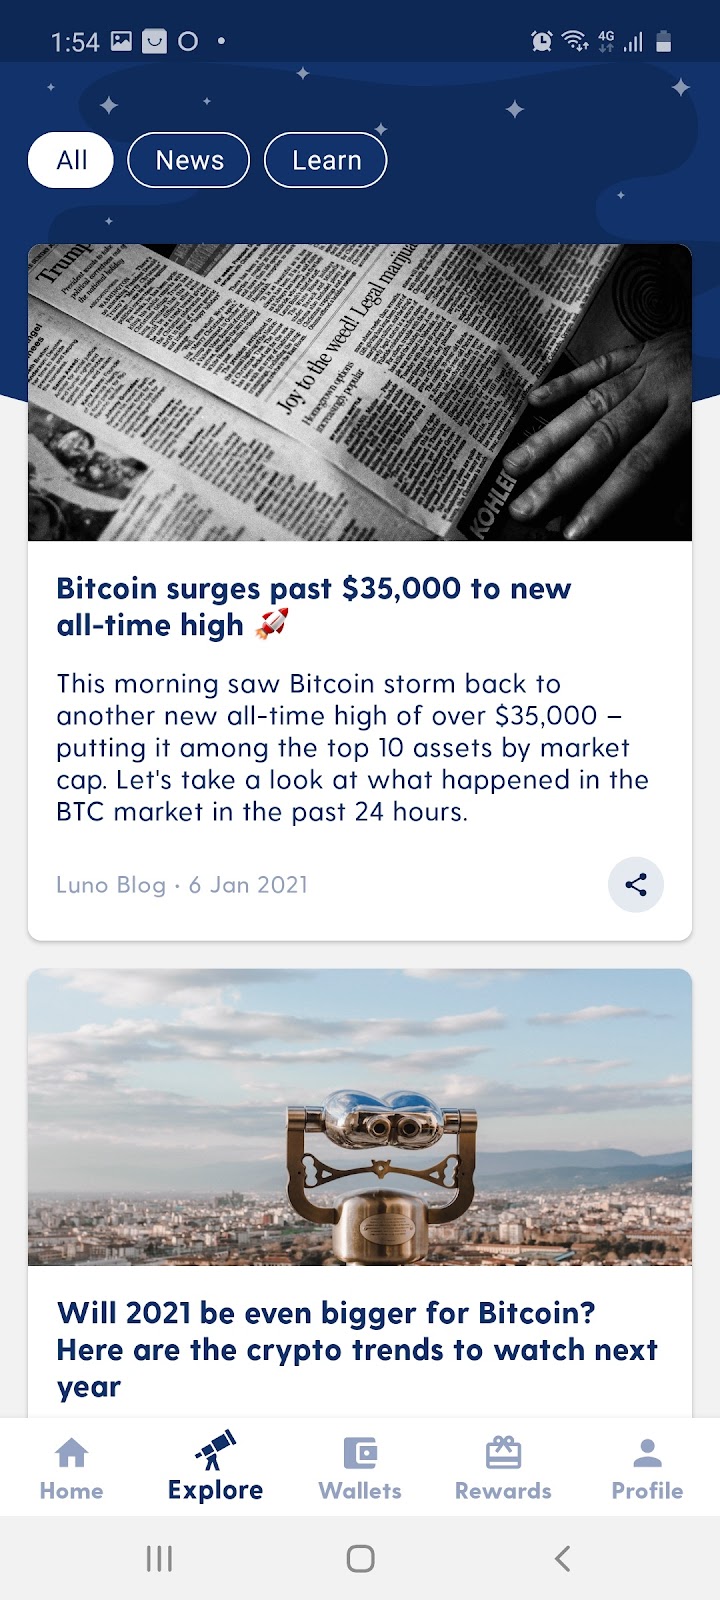
Note: Explore is a section where you can learn about the basics of cryptocurrencies and blockchain as well as keep yourself updated with the latest industry news and happenings.
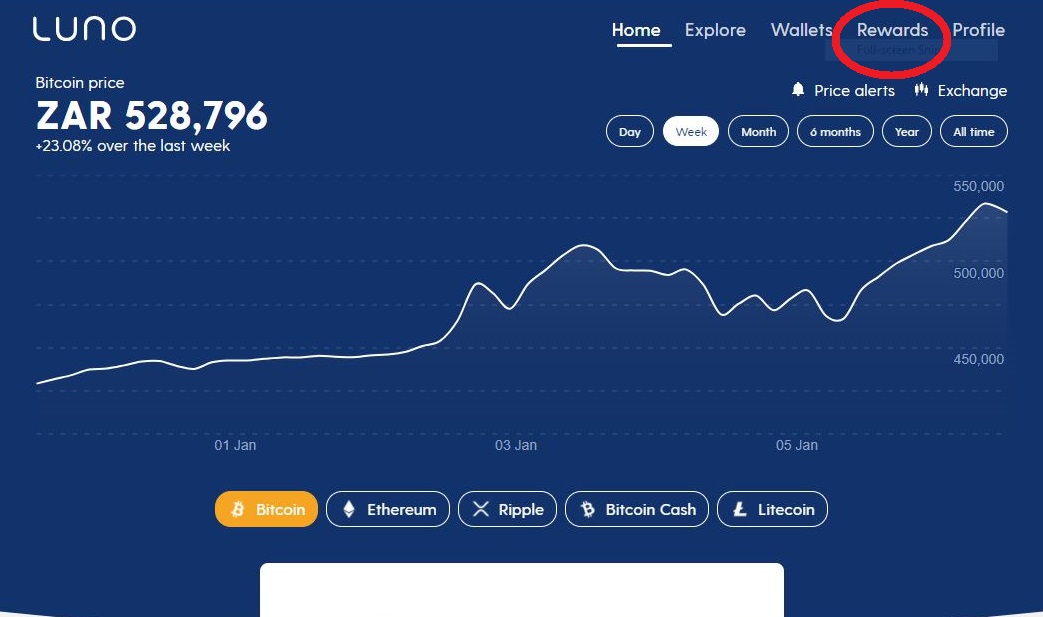
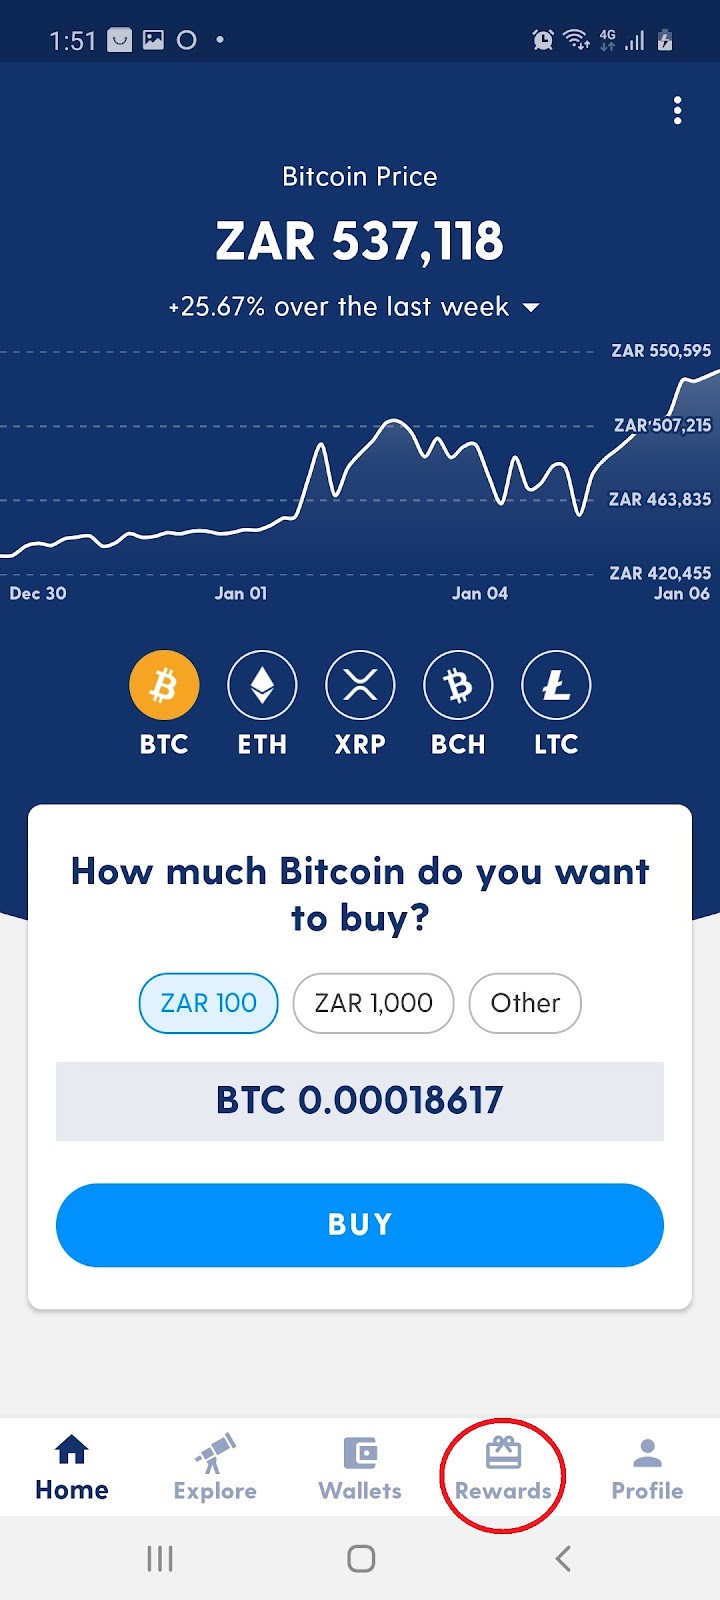
10. Reward and Referrals
10.1 From the home page select ‘Rewards’:
↘ ↙

Note: Rewards tab allows you to share the app by inviting your friends. In doing so, you can earn yourself and your friends free satoshis.
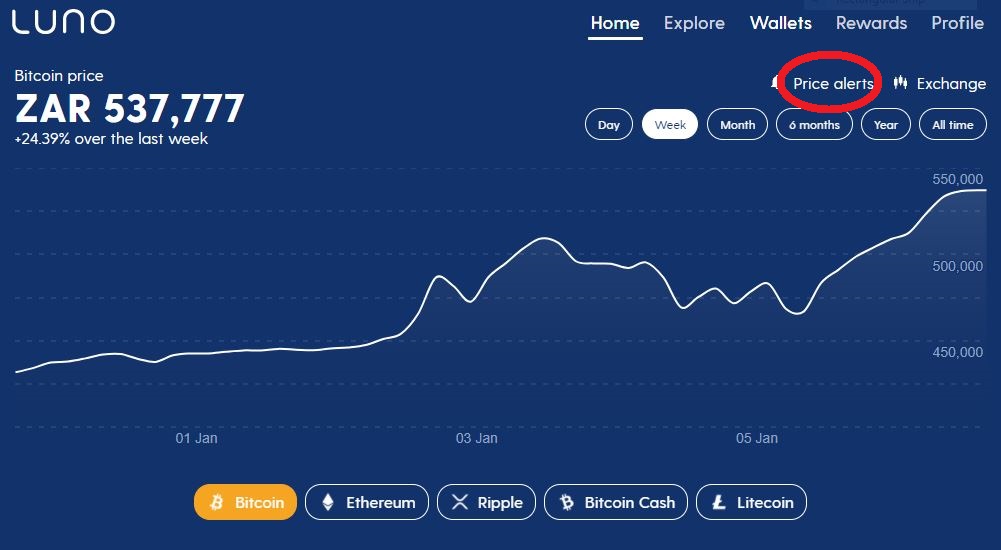
11. Price Alerts
11.1 From the home page select ‘Price Alerts’:
11.2 Select ‘Create Alert’ on the Price Alert landing page:


11.3 Fill in the currency, frequency, more or less than, amount and press ‘Create Alert’:

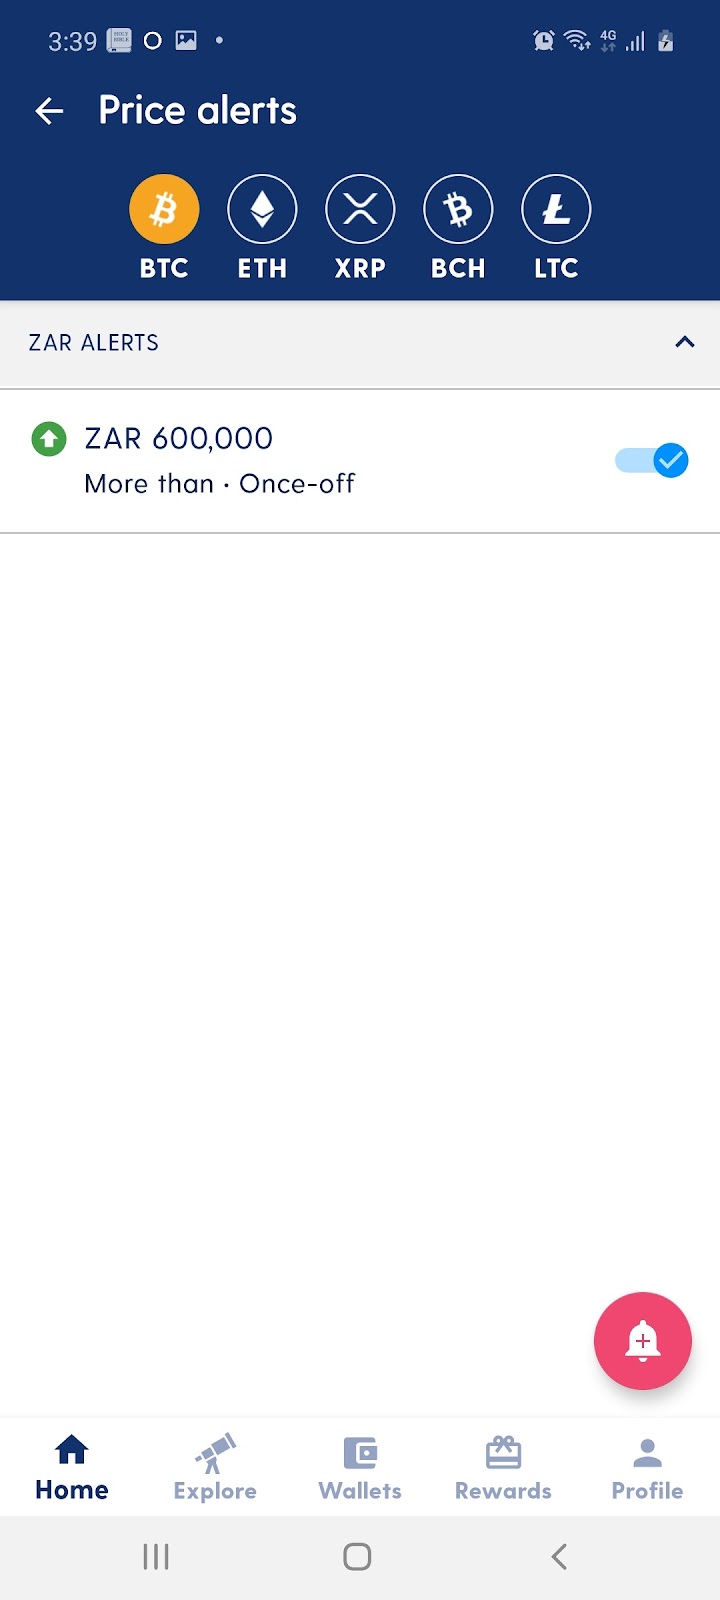
11.4 Once created, your price alerts will appear as follows:
12. Bitcoin Savings Account
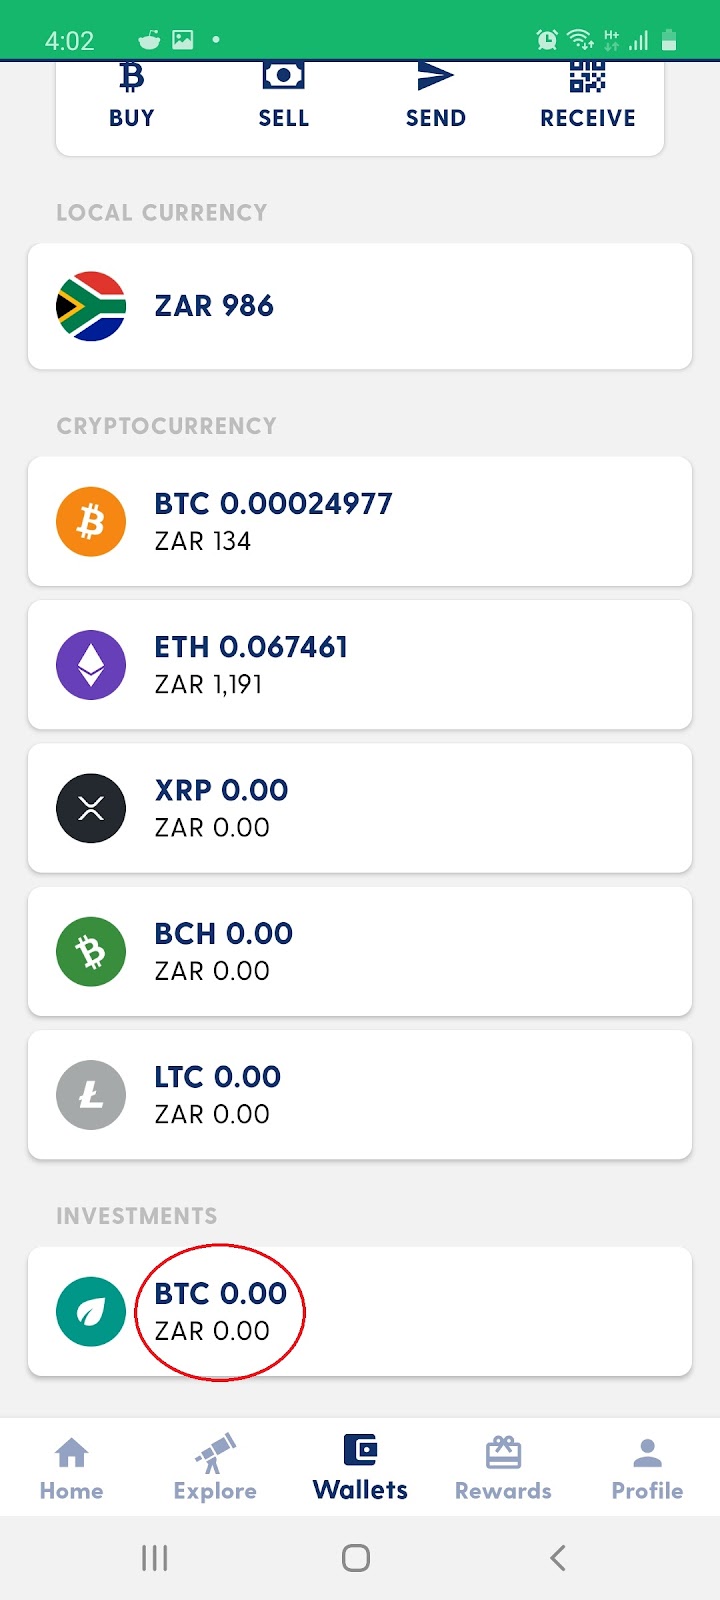
12.1 On wallet landing page select the ‘BTC’ icon under investments:
12.2 Select ‘Transfer BTC In’:

12.3 Fill in the currency, amount and press ‘Next’:
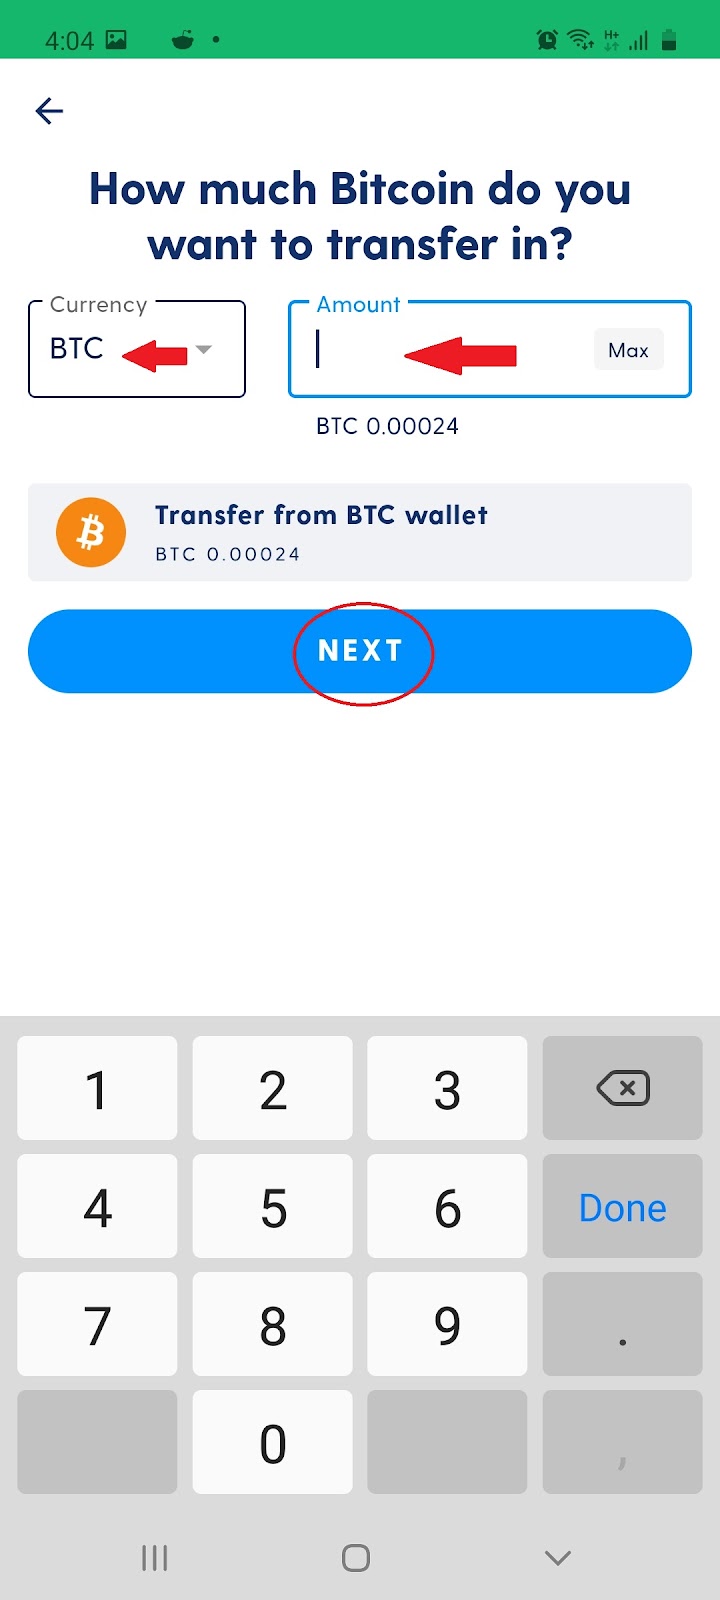
12.4 Fill in the currency, amount and press ‘Next’:
12.5 Finally ‘Confirm’ the amount, enter your ‘Pin’ and click ‘done’:


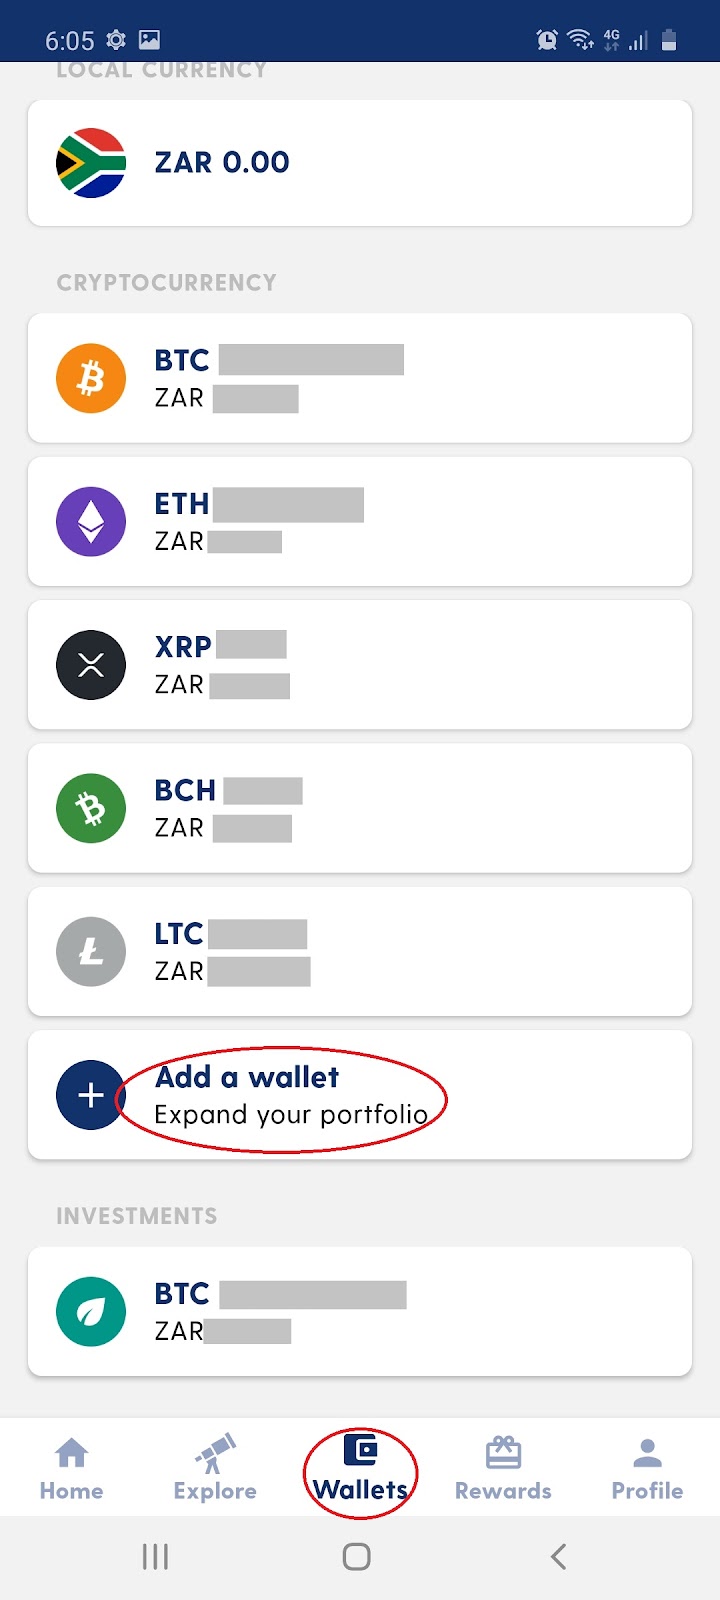
13. Creating a USDC Coin Wallet
13.1 On wallet landing page select ‘Add a wallet’:
13.2 On the pop-up screen select ‘USD Coin wallet’:

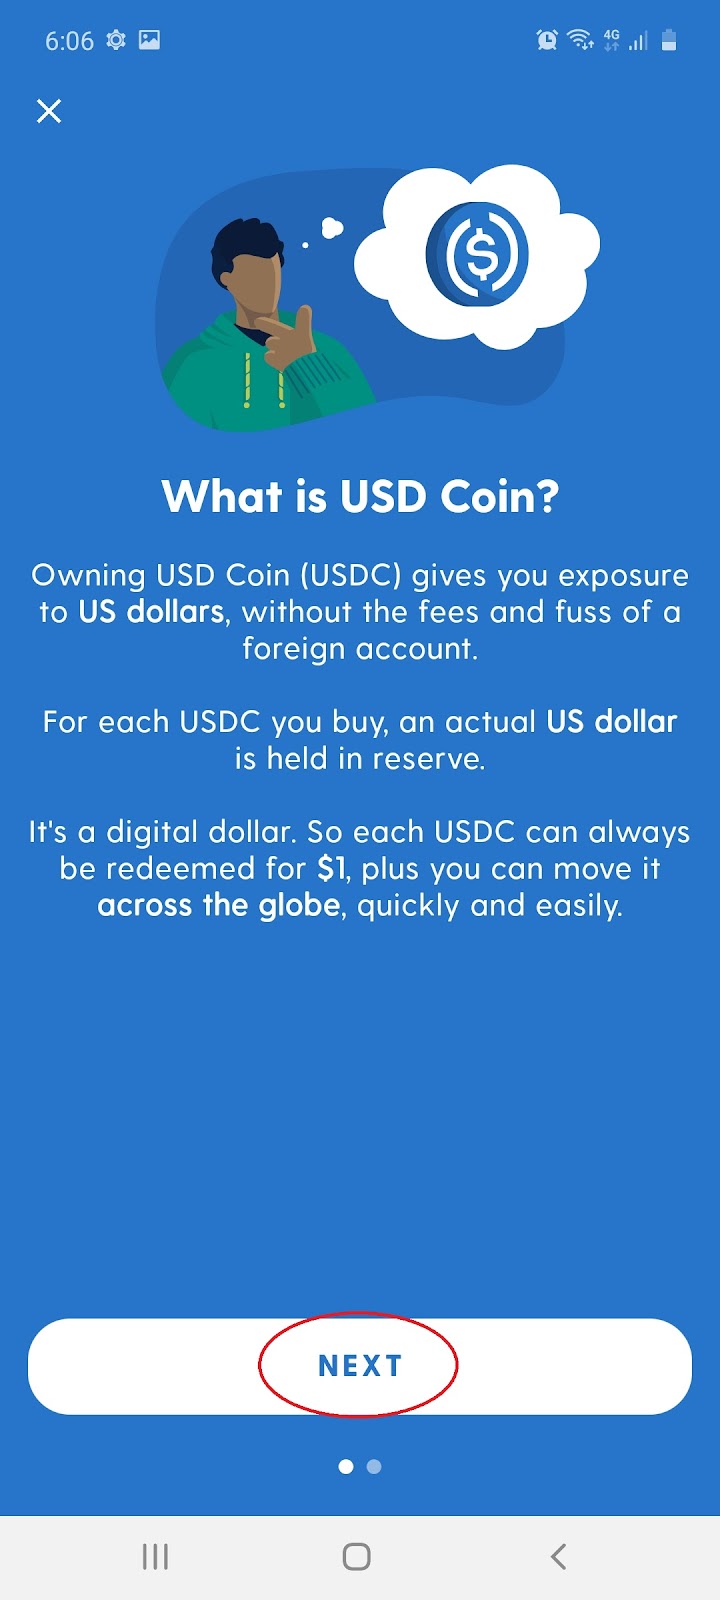
13.3 The following screen will appear, select ‘Next’:
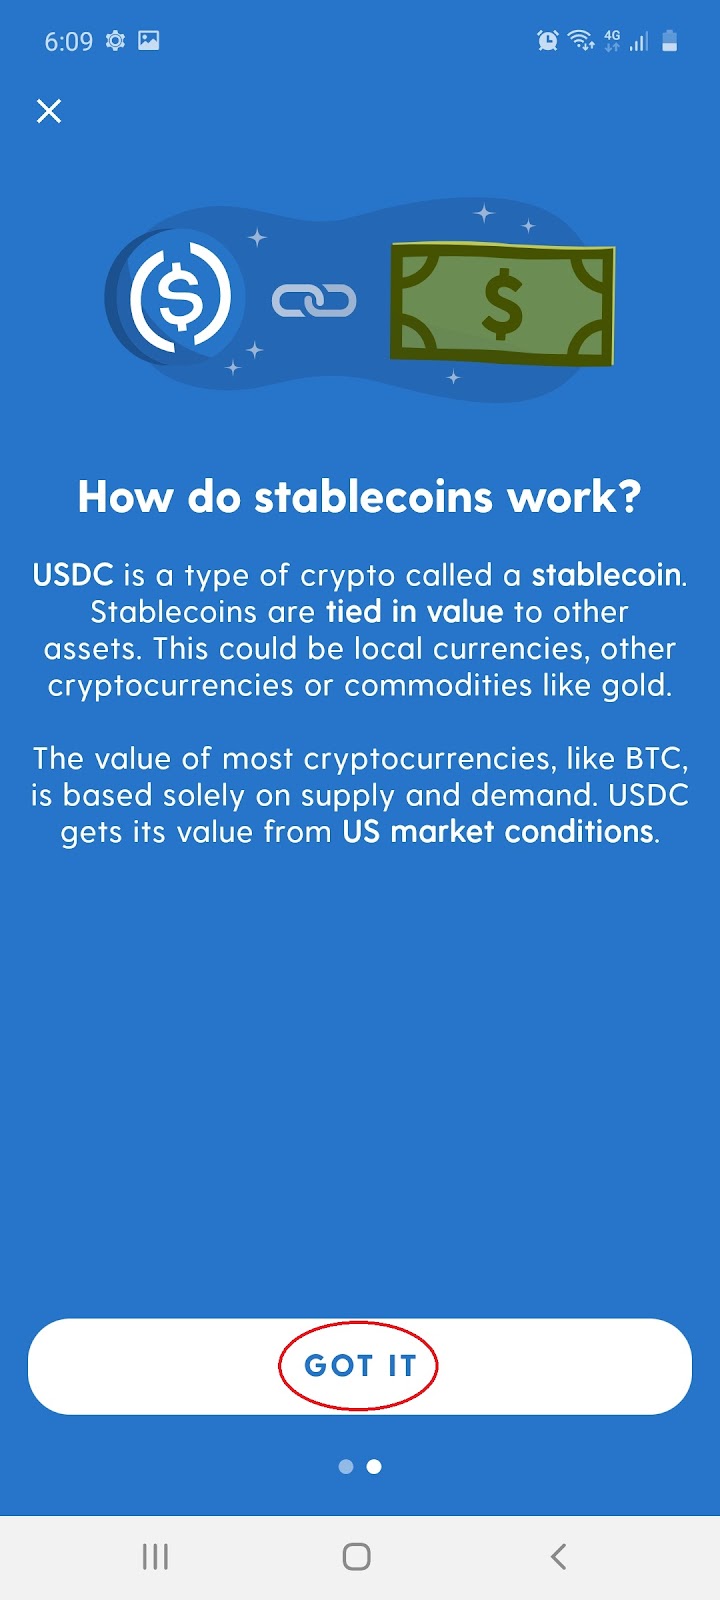
13.4 Then select ‘Got it’:
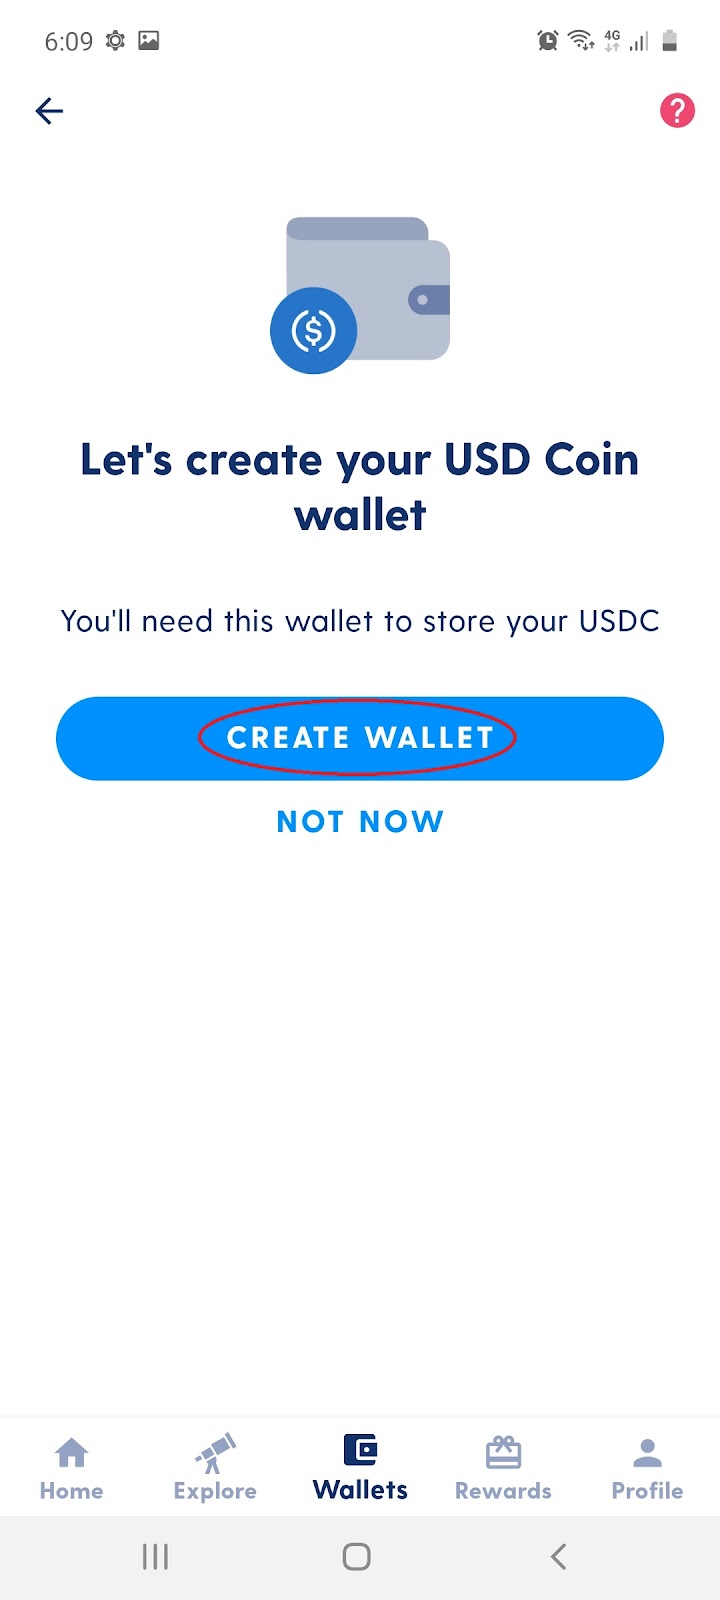
13.5 And finally select ‘Create Wallet’:
13.5 Your USDC wallet should appear as below:

If you want to master the art of crypto like a pro check out our web3 masterclass course and get live support in ALPHA GROUP.